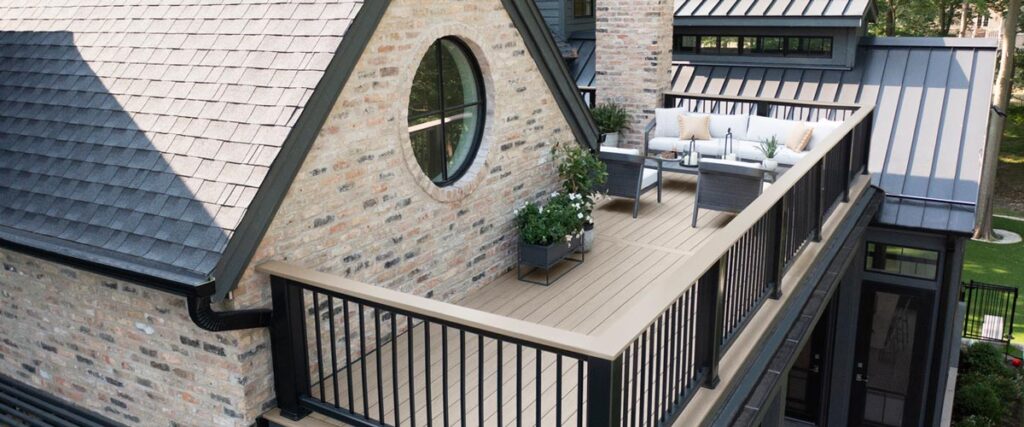
Window flower boxes and raised planters are sleek and simple projects that bring life and color to your outdoor spaces. Projects like a DIY railing planter are also a great way to better incorporate your deck into your landscaping and garden design.
Ready to start? Try this DIY project or explore the many railing planter ideas below. If you’re still planning your deck design, chat with a contractor about how to incorporate more of your garden in your deck.
TimberTech Tip:
This project is great for experienced DIYers, but not recommended for beginners. Explore other railing planter ideas.
How to make a deck railing planter box
Required Materials and Tools
| • 1″ x 8″ lumber • Wood glue • Outdoor decking screws • Tracing or butcher paper | • Circular or other saw • Tape measure • Pencil • Clamps |
You can make your own railing planter box without damaging your deck and railing in a few relatively simple steps. There are also several DIY and manufactured options you can customize based on your railing and aesthetic. Our directions below provide a simple 48″ rectangular design as a starting point for your creativity.
1. Measure your deck railing
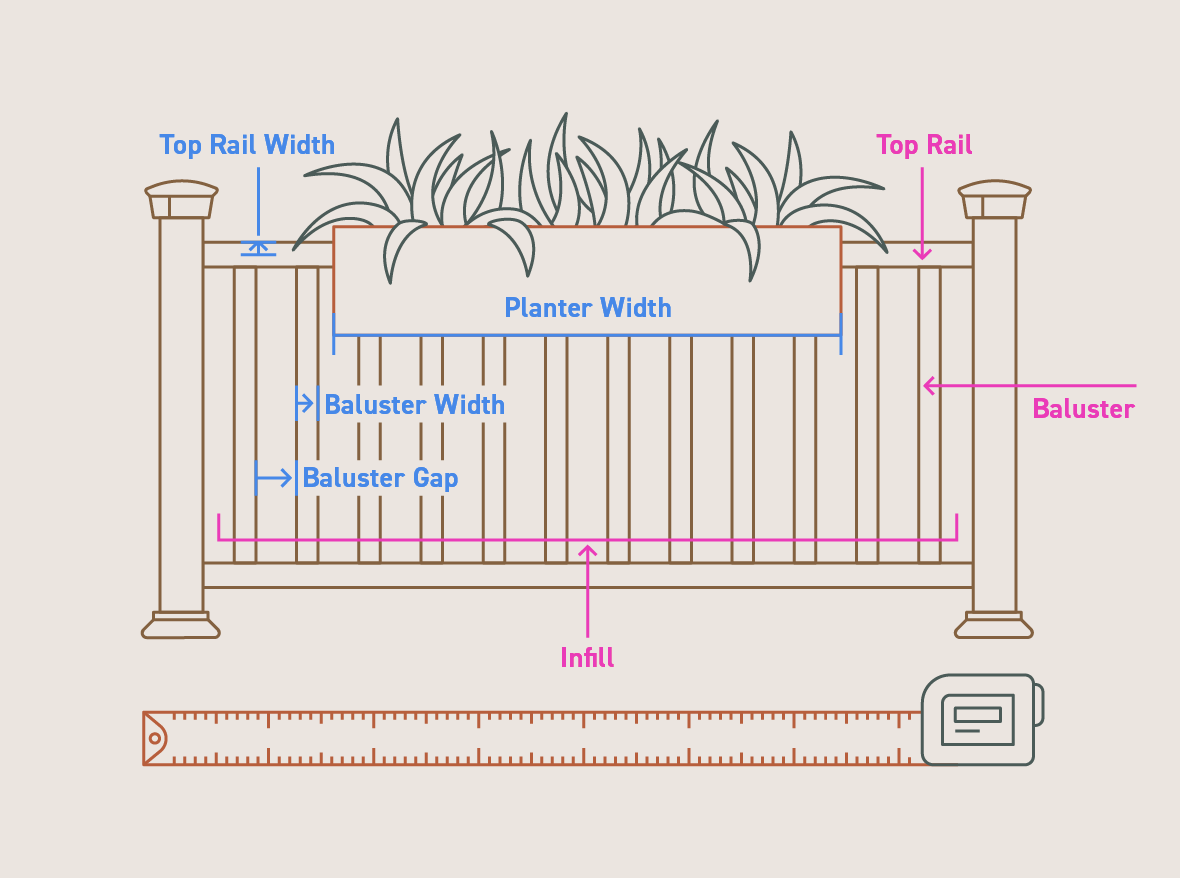
This specific home project is designed to fit between your deck railing infills so you don’t have to install fasteners or hardware into your railing. Many planters are designed to work with your PVC or composite railing, so the first step for any planter is to measure your existing railing.
Measurements include:
- Baluster Width: Determine the width of your baluster to measure the gap between planter box and baluster for your bottom brace.
- Baluster Gap: Measure the gap between balusters to ensure there’s enough space for side braces and adjust as necessary.
- Planter width: Our project recommends a 48″ long planter box. Measure your infill to ensure at least a 2″ gap between balusters at the end of each box, or adjust width as necessary.
- Top rail width (TRW): Measure the width of your top rail to determine how wide your top connector needs to be to secure planter boxes together.
Each of these measurements will help you determine what size your railing planter needs to be. This also determines where the planter’s braces will fit on the railing, as shown below.
| Brace | Custom measurement | Full brace size |
|---|---|---|
| Side brace spacing (SBS) = | Planter width | 4″ and 12″ tape |
| Bottom brace depth (BBD) = | (Top rail width – baluster or infill width) / 2 | BBD x 2″ x 48″ |
| Top connector length (TCL) = | Top rail width + board depth x 2 | 1″ x 48″ x TCL |
Be sure to take measurements a few times before cutting wood for your project.
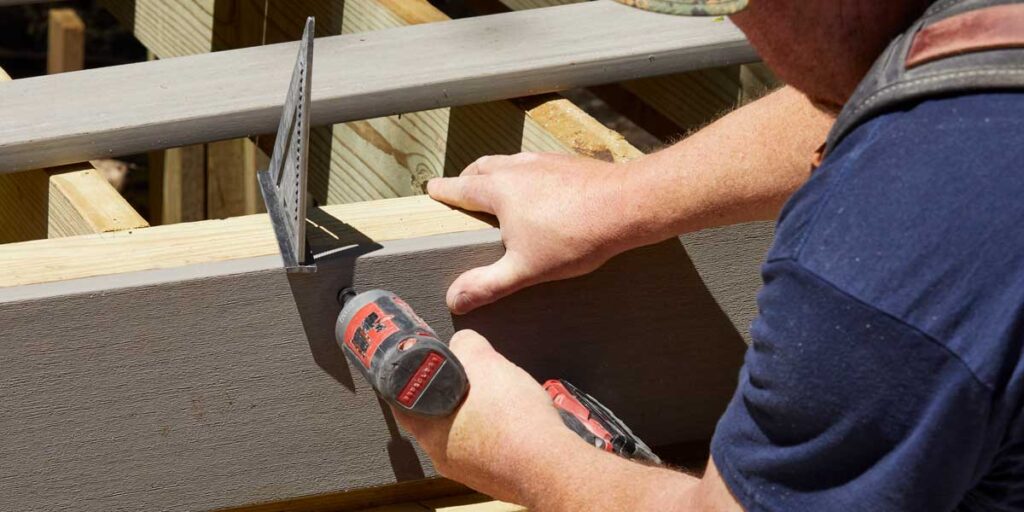
2. Cut wood to size
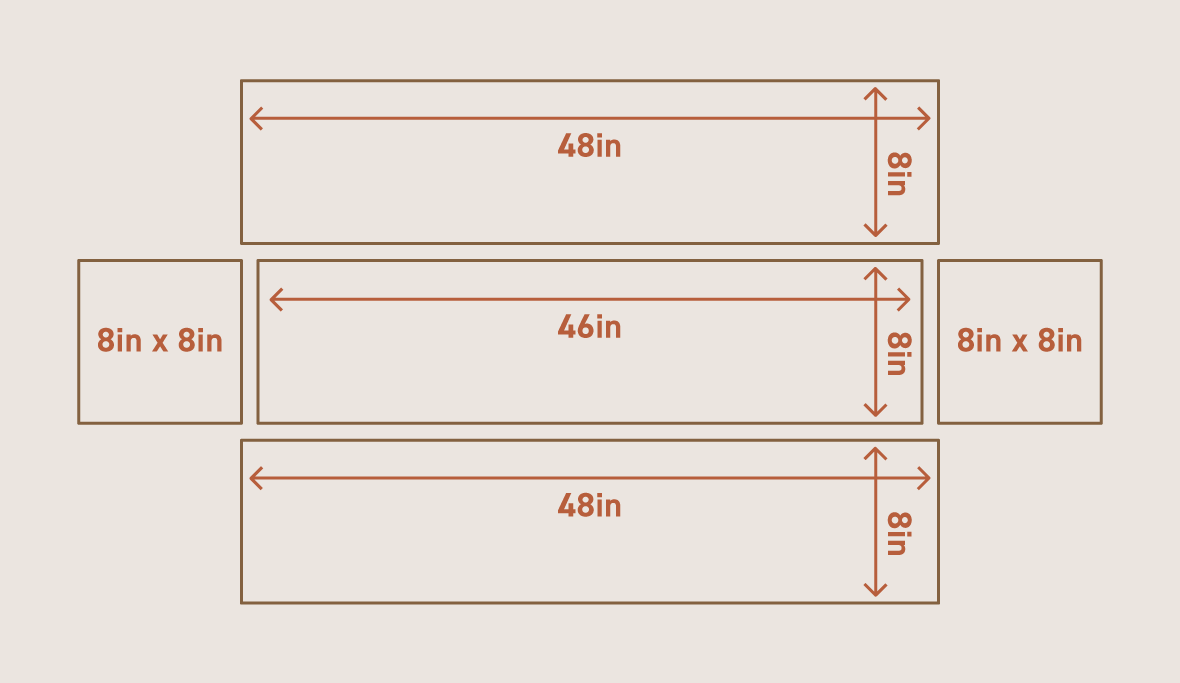
Our example project measures 48″ wide with two boxes, each 7″ deep, on both sides of your deck railing. Of course, you can customize the size if you have longer railing sections or a small deck. You’ll also have custom sizes for your planter braces, which you determined in step one.
TimberTech Tip:
Draw the width of your box on paper to compare against your railing before you cut your lumber. If your paper box doesn’t line up with your infill, you can customize the measurements before you cut.
Below are the board sizes for a single box, so you’ll want double of each set of boards to create two boxes and complete our project.
- Side boards: two 48″ boards (1″x 8″ lumber recommended)
- End pieces: two 8″ squares (or the width of your side board minus the depth)
- Bottom board: one 46″ board (or the length of your side board minus end piece depth x 2)
In addition to the pieces you need for your planter boxes, you’ll also cut the braces you measured in step one. This includes:
- Two side braces
- Two bottom braces
- One top connector
3. Glue your planter boxes together
When each and every piece is cut, lay the box pieces out flat with adjoining edges side by side. The bottom board should fit snugly between the end pieces and side boards. Leave the connecting braces to the side for now.
Apply a thin layer of wood glue on each edge that’s to be connected and push edges together. Clamp them to dry. Secure your boards with outdoor deck screws to complete two individual boxes.
Once your boxes dry, you can move forward with the connecting braces.
4. Attach braces to your planters
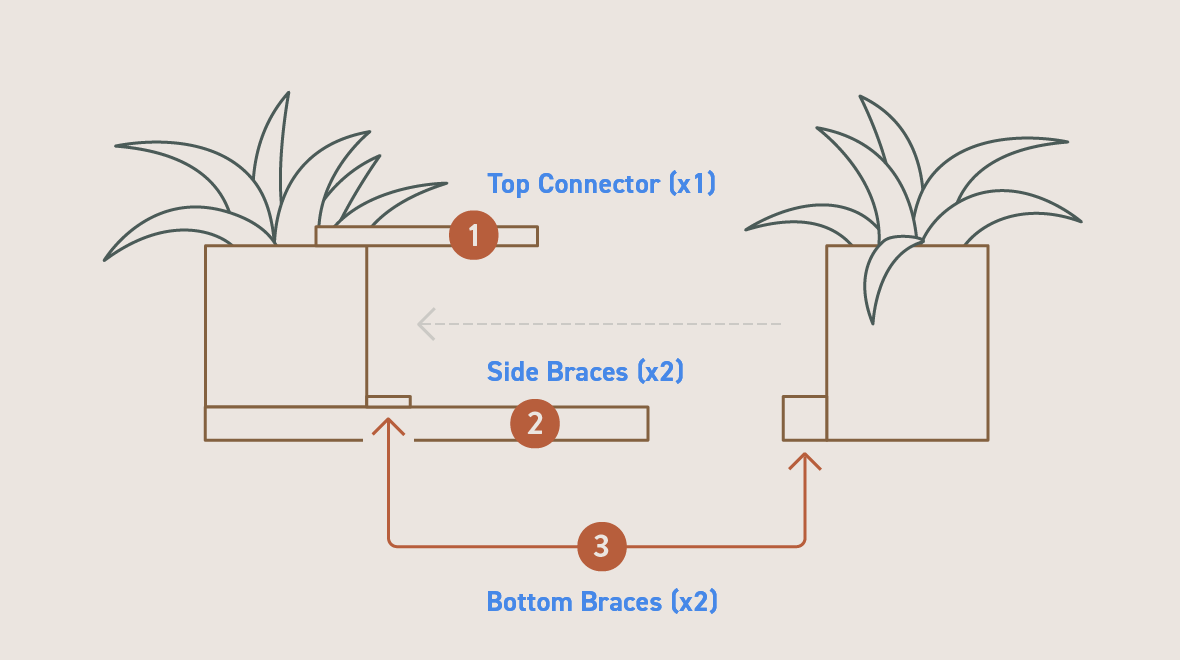
Organize Project Pieces: First, identify which exterior edge of each planter will face your deck railing. We’ll refer to this as the interior edge where our braces will connect each box. Braces are pictured above and include:
- Top connector: Extends over the top rail to attach to the top, interior edge of each planter box.
- Side braces: Attaches to the sides of the planter boxes along the bottom edge and extends through baluster gaps.
- Bottom braces: Secured to the bottom, exterior edge of each box on the interior side facing the railing. Extends the length of the box.
Install Bottom Brace:
- Align a bottom brace along the bottom interior edge of each box.
- Secure braces with outdoor screws.
- The brace will fit where the planter meets the railing.
Install Top Connector:
- Select one planter box to install remaining connectors on.
- Align the top connector to fit the top interior edge of the box. The brace should extend towards the interior side with enough length to clear your top rail and connect to the other box.
- Secure the brace along the top interior edge with outdoor screws.
Install Side Braces:
- Select the same planter box featuring the top connector.
- Align a side brace on each side of the planter box along the bottom side edges. The braces should extend towards the interior side with enough length to connect to the other box.
- Secure side braces with outdoor screws.
At this point, one planter box should have all of the braces installed, while the other just has a bottom brace.
TimberTech Tip:
Pre-drill your holes before installing screws to avoid splitting your wood.
5. Add the finishing touches to your planters
This is the stage to sand, then stain or paint your planter boxes to finish your project. We recommend you complete these steps to ensure a long-lasting planter:
- Drill ½”-1″ drainage holes through the bottom board
- Sand rough edges
- Seal the wood with stain or paint
Now you can get creative with your customized planter design. For an extra polished look, you can cover your screws with wood plugs or use scrap wood to create custom planter labels for your future garden. A scalloped trim or beautiful stain can also elevate your design.
TimberTech Tip:
Install a durable lining or weather-proof foam under your top connector and along the inside of your bottom braces to ensure your new planter won’t scratch your PVC or metal railing.
6. Install your deck railing planter
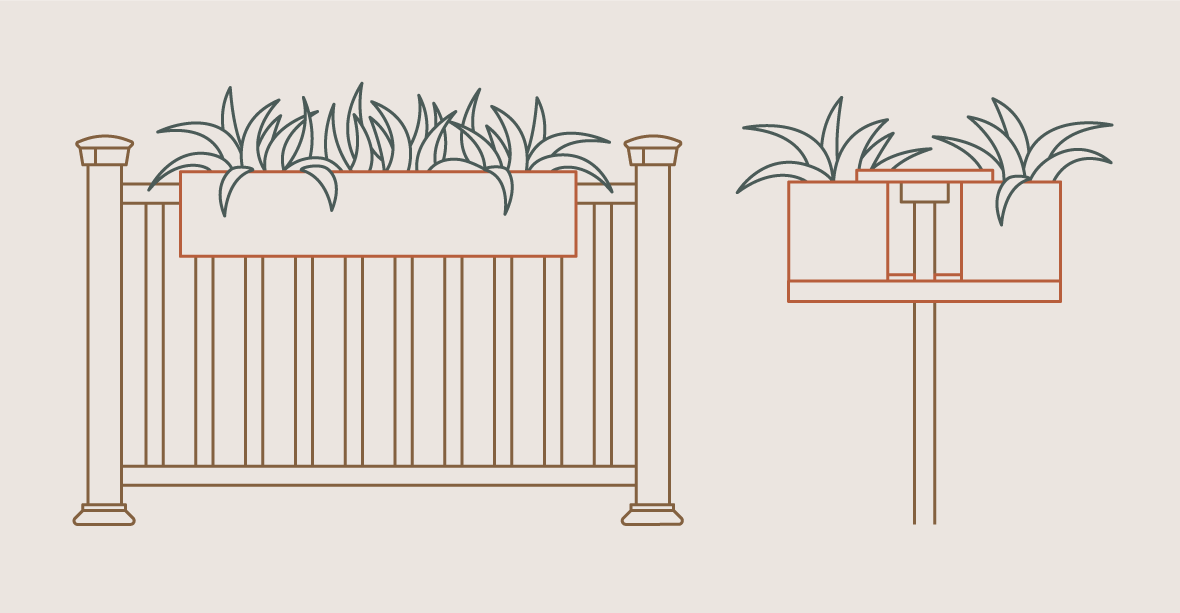
When your boxes are dry and fully assembled, invite a friend to help you install them to your PVC deck railing.
First, align the planter box with installed braces to your deck railing. The side braces should fit between your infill balusters, the top connector reaching over the top rail, and the bottom brace bridging the gap between box and infill.
Have your helper place the second box on the opposite side of the railing. Carefully align it so that the side braces and top connector fit appropriately along the sides and interior edge of the second box. Secure the top connection first, then each side brace using outdoor screws.
Once secure, your planter is fully installed and ready for planting. Fill the boxes with your preferred soil and enjoy fresh flowers, herbs, and even small veggies throughout the growing season.
More deck rail planter ideas you’ll love
Building planter boxes from scratch is a great DIY project, but you don’t need a circular saw to create the perfect planter for your deck. Check out these other simple projects for a deck garden.
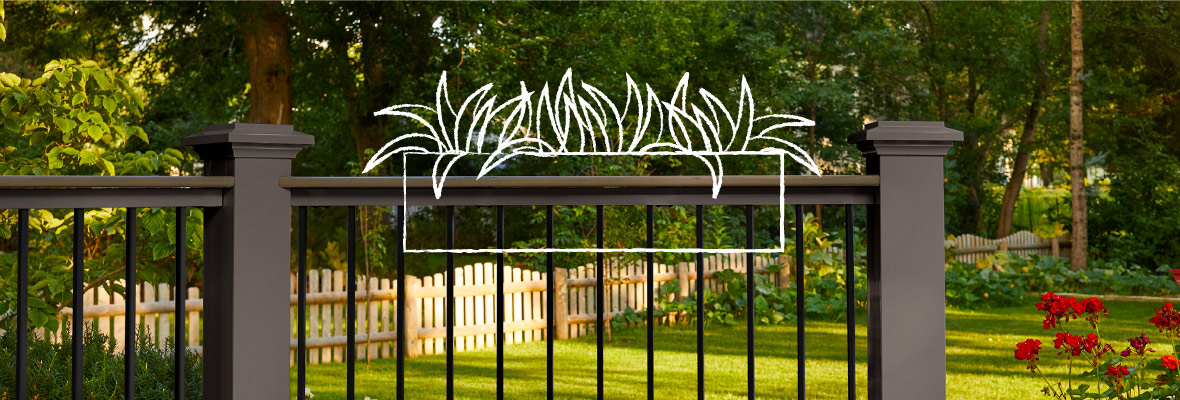
Raised planters as railing
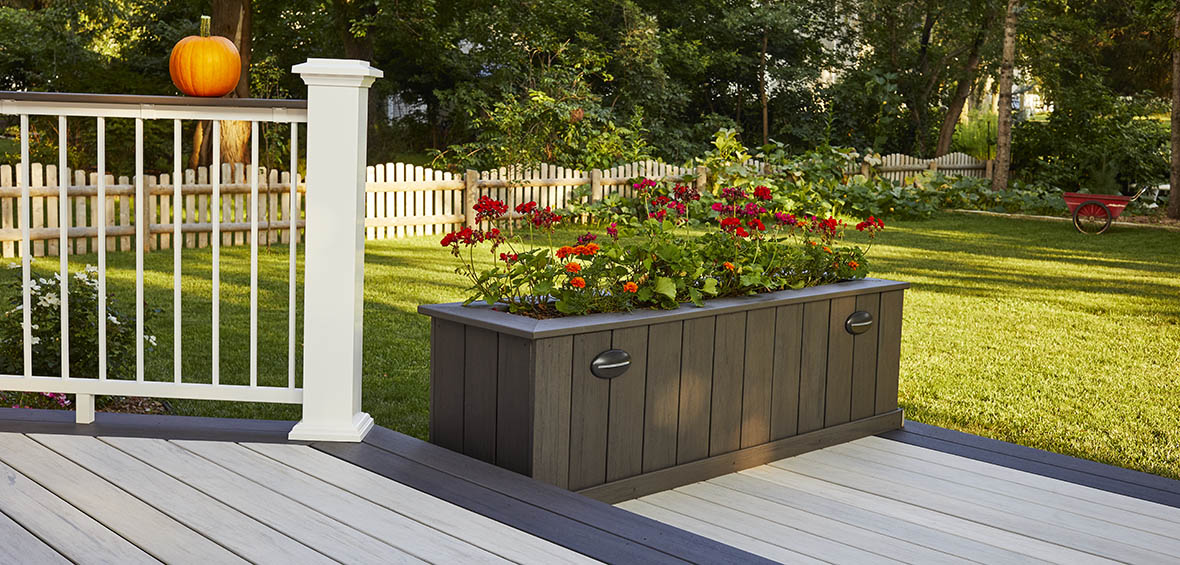
Raised planters are a great alternative to ground-level gardens that can save your back and become an attractive feature of your deck. Raised planters placed directly on your deck can even double as railing on smaller decks, depending on your local building codes. Just be sure to keep ADA-compliant handrails on stairs and ramps.
These are easy to build or purchase pre-fabricated for an easy install. If you want a flawless fit with your existing deck, consider working with a professional for a custom planter.
Vertical planter wall
Vertical gardens are a trendy and space-saving alternative for your deck planter. An existing trellis or privacy wall can support vining plants, while simple additions like hanging pots or propagation vases allow you to grow whatever flora you like.
Plants on your drink rail
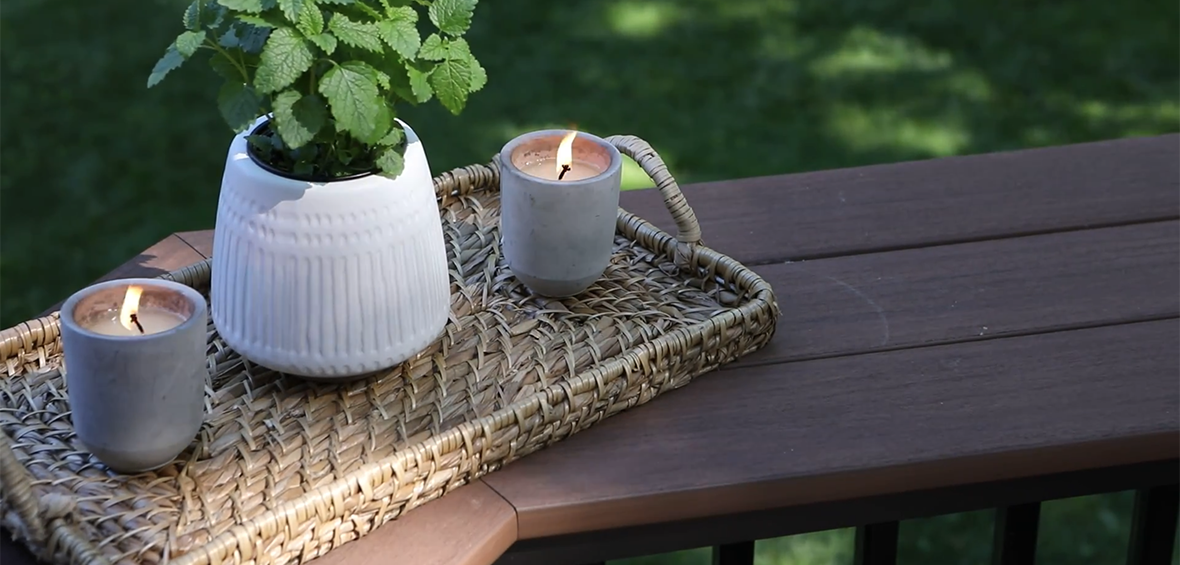
Deck rails aren’t one size fits all, and there are a number of ways to customize your railing from the top rail and infills to the posts and lighting features. TimberTech Drink Rails provide an extra-wide top rail for guests, but you can also strategically place small plants and vases for a little living decor. Use zip ties or museum putty to secure any top rail planters and decor.
Hanging planters for your deck rail
Hanging planters are also an accessible way to add some greenery to your living space. Planter baskets throughout your deck look great, and wide hooks like pot holders can secure a planter or pot to your railing without damage.
A DIY railing planter adds life to your deck and yard design, but there’s more than one way to install a custom planter on your deck. Find a professional to draft the perfect design and make your dream deck a reality.
Get Design Inspiration
Explore our Inspiration Gallery and see cool, contemporary builds sure to give you ideas for your own space.