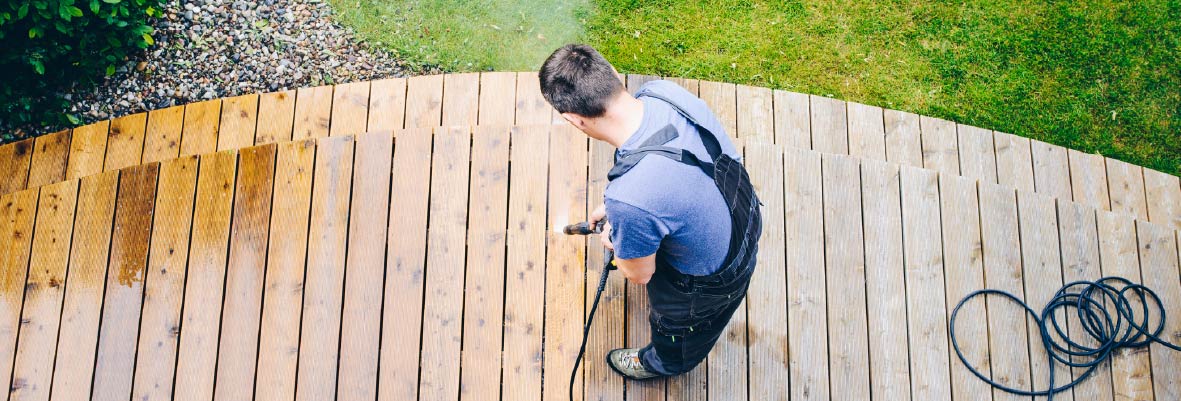
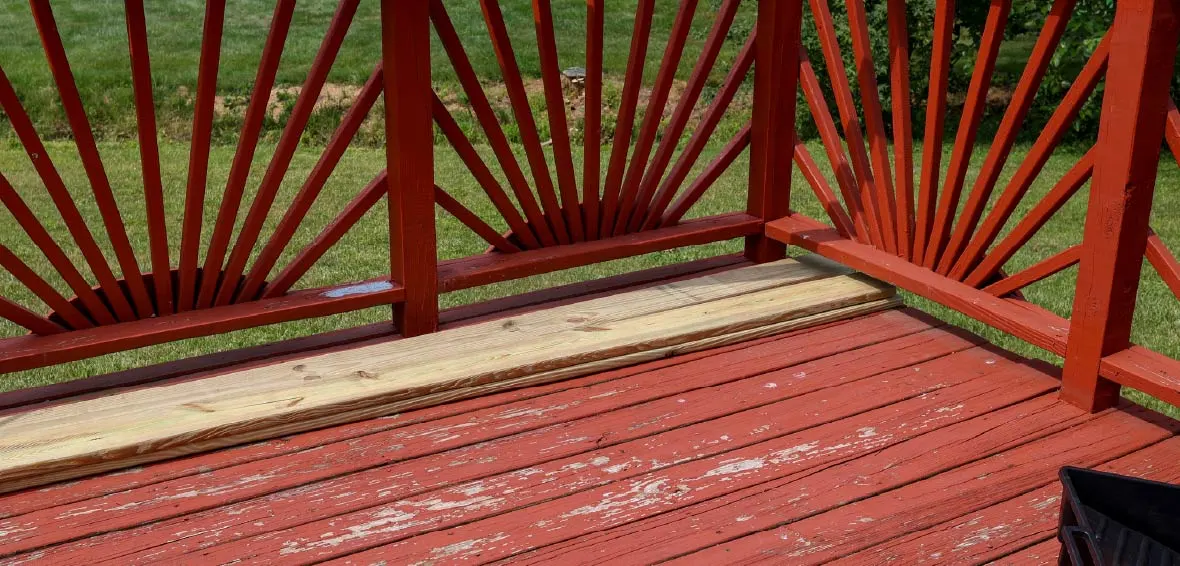
Annual care is part of deck ownership, and wood decks are particularly high maintenance. You need to seal and/or paint wood decking every 1-3 years to maintain its integrity and appearance. This means you need to know how to remove paint from a deck when it’s time for a fresh finish.
Paint on wood decking tends to chip and peel over time, and it won’t protect your deck once it begins to flake. Upkeep is important and takes several hours a year.
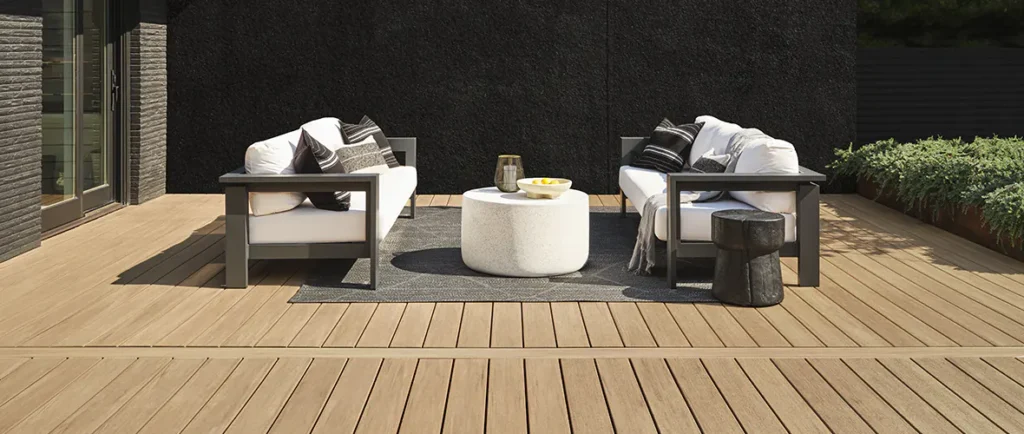
It’s important to note that you shouldn’t paint a composite or PVC deck. Low-maintenance composite and PVC materials feature polymer capping that resists damage and maintains its color so you never need to paint or seal it for protection.
Learn more about paint removal and proper wood deck maintenance below.
How to remove paint from a deck:
- Removal methods
- Tools and materials
- Prepare your deck
- Apply paint stripper
- Remove paint manually
- Clean your deck
- Sand and finish the wood
- Low-maintenance decking alternatives
Paint removal methods
There are two paint removal methods you can use on your wood deck — chemical and mechanical removal. Chemical strippers are faster and easier, while manual methods are non-toxic and cost efficient but labor intensive. A mix of both methods is the best option for many deck owners.
Chemical removal
Chemical removal uses paint strippers to lift paint away from your decking. There are two main categories of paint strippers:
- Caustic-based: decomposes paint
- Solvent-based: breaks bonds between the paint and decking
They’re available in gel or liquid consistencies. Gel is much easier to apply with a brush, roller, or sprayer, and it stays wet longer, which is ideal for large deck projects. Water-based strippers dry quickly and are better suited for small projects. You’ll also apply it with a sprayer rather than a brush.
Regardless of the paint stripper you use, you should always follow specific instructions from the paint strip manufacturer.
Paint strippers are great if you want to save time and effort on manual scraping or sanding. However, you should handle them carefully and keep children and pets away. Wear proper protective equipment and consider eco-friendly paint strippers, which are just as effective as other chemical choices without harming the environment.
If you’re looking for a non-toxic option, you can find non-toxic paint strippers or learn how to remove paint from your deck without chemicals.
Mechanical removal
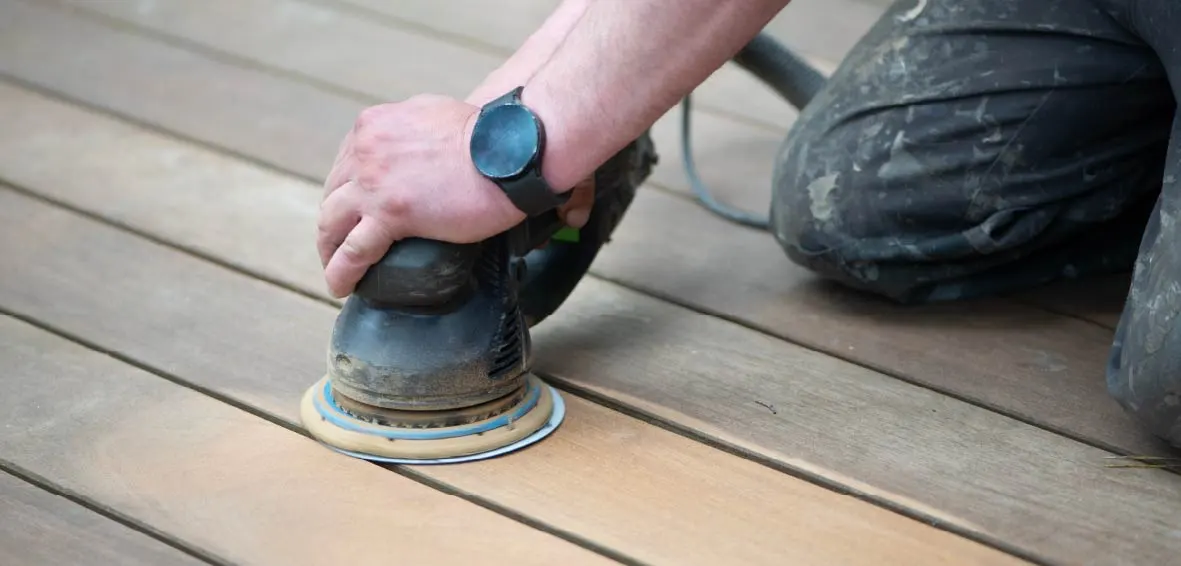
You can remove paint manually without chemicals using scrapers and power tools. Belt sanders or random orbital sanders are great choices. Power planers also work with the right blade, but you have to be cautious to avoid damaging the wood.
Of course, you can use a scraper to pull paint up, but this is a long process best suited for extremely degraded paint. Heat guns are another less powerful option that may come in handy.
Tools and materials needed
Required tools vary depending on your removal method. We cover chemical paint removal steps below. If you want to remove paint manually, skip step 2: Apply paint stripper.
| Tools | Materials |
|---|---|
| • Personal protective equipment (PPE) • Paint roller/brush (gel paint stripper) • Sprayer (liquid paint stripper) • Scraper • Powerwasher • Sander (random orbital or belt sander) • Nylon-bristle brush | • Paint stripper (if chemically removing paint) • Sandpaper |
1. Prepare your deck
The first step in any deck maintenance project is preparing your deck for work. Begin by removing your furniture and decor so nothing is in the way.
Next, inspect your deck for damage. You’ll want to replace any broken deck boards, tighten loose fasteners, and look for mold, mildew, or water damage.
You can begin removing paint once you’ve cleared the deck surface, inspected your substructure and framing, and completed necessary repairs.
2. Apply paint stripper
If you opt for chemical removal, apply a paint stripper to break down the paint and its bonds. The paint stripper will pull much of the paint, but you’ll still need to use some mechanical methods to clean everything up.
Work in small sessions and apply the paint stripper in a generous, even coat. Use water or additional stripper to keep areas moist until you’re complete.
Allow the saturated deck to sit for 20 minutes or so until the paint begins to peel away. Continue to moisten areas as needed.
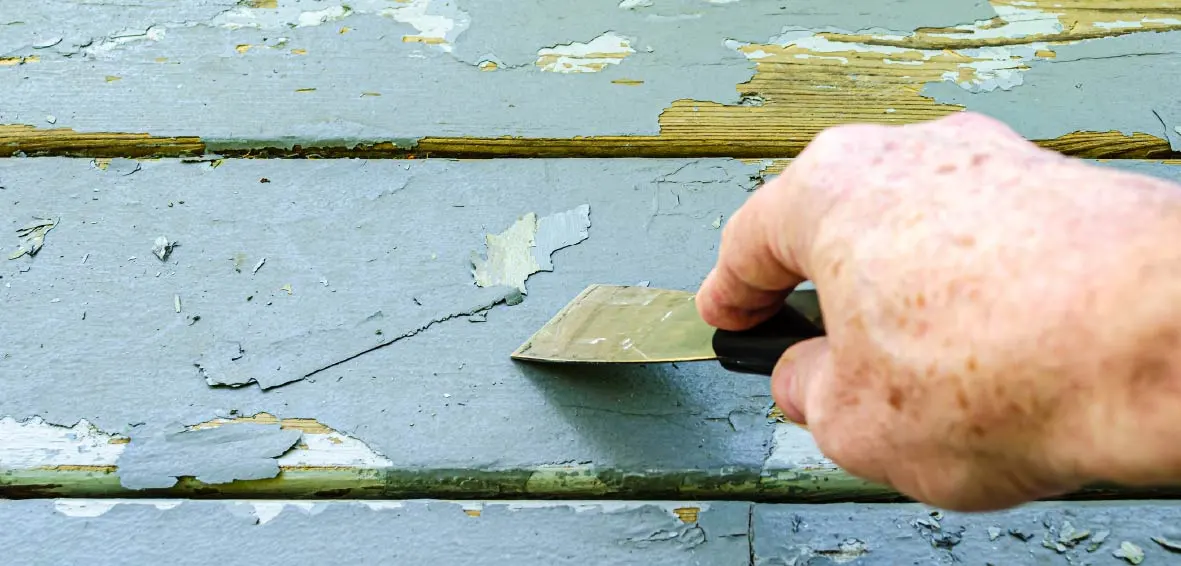
3. Manually remove paint
It’s time to remove the paint and stripper once the chemicals take effect. A pressure-washer is the quickest option. Set a power washer no higher than 1000 PSI to exfoliate the remaining paint and chemical residue away.
You can use scrapers or nylon-bristle brushes to manually remove the paint and stripper as well. It’s more time-consuming, but it reduces the risk of damaging your wood deck with a high-pressure washer.
Chemical-free removal
If you skipped step 2, you can mechanically remove the paint with some elbow grease. You’ll need a power sander and paint scraper to chip away at the tough finish.
You can complete the job using random-orbital, belt, or hand sanders. The best sandpaper grit for old, peeling paint depends on your deck wood.
- Softwoods: 80-100 grit sandpaper
- Hardwoods: 100-120 grit sandpaper
Finish with fine-grit sandpaper to prepare for sealer, stain, or paint.
Paint scrapers are great for detailed work around posts, railing, and other deck features. You can also use a detail sander to get between the nooks and crannies.
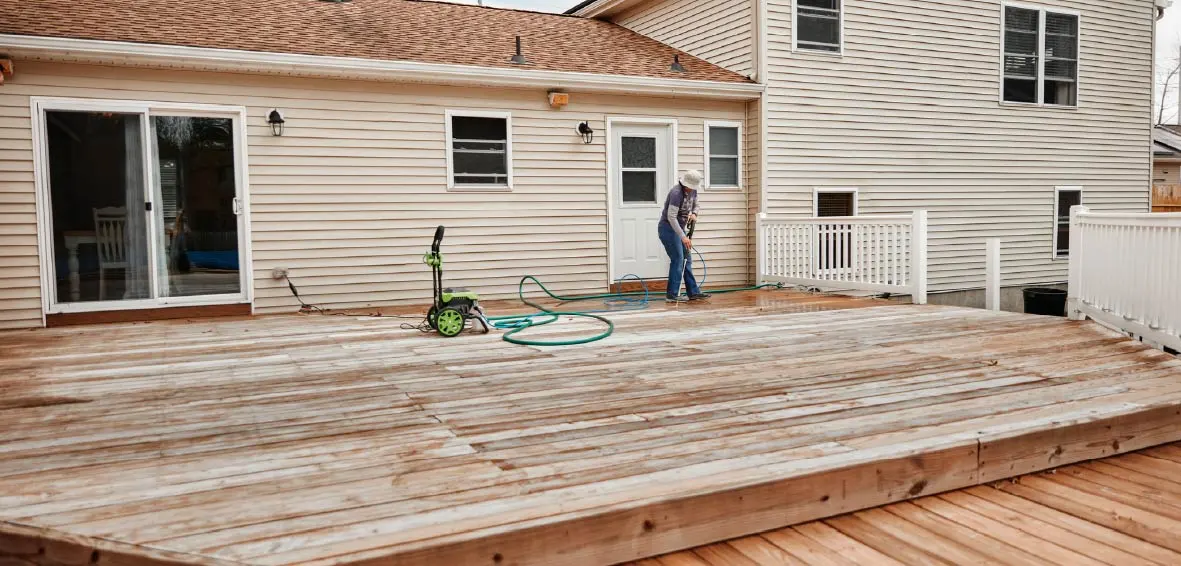
4. Clean your deck
After all of the gunk and paint is removed, it’s time to clean your deck. You’ll need:
- Stiff-bristled brush
- Cleaning solution (purchased or DIY)
- Garden hose
The right cleaner depends on your deck material. You can purchase wood deck cleaner or make your own with dish soap and hot water. Add alcohol and oxygen bleach to prevent mold and mildew — don’t use chlorine bleach.
Note that wood and DIY cleaners aren’t appropriate for TimberTech® Advanced PVC or Composite Decking. Always use manufacturer-recommended solutions on composite and PVC decking.
Follow these steps when your solution is ready:
- Clear your deck and sweep any remaining debris away.
- Wet your deck to help the cleaner application.
- Scrub your deck with the appropriate cleaner and brush.
- Rinse the surface to remove the cleaner and dirt. Use a low and consistent pressure to clear buildup and avoid deck damage.
- Allow to dry before refinishing the deck.
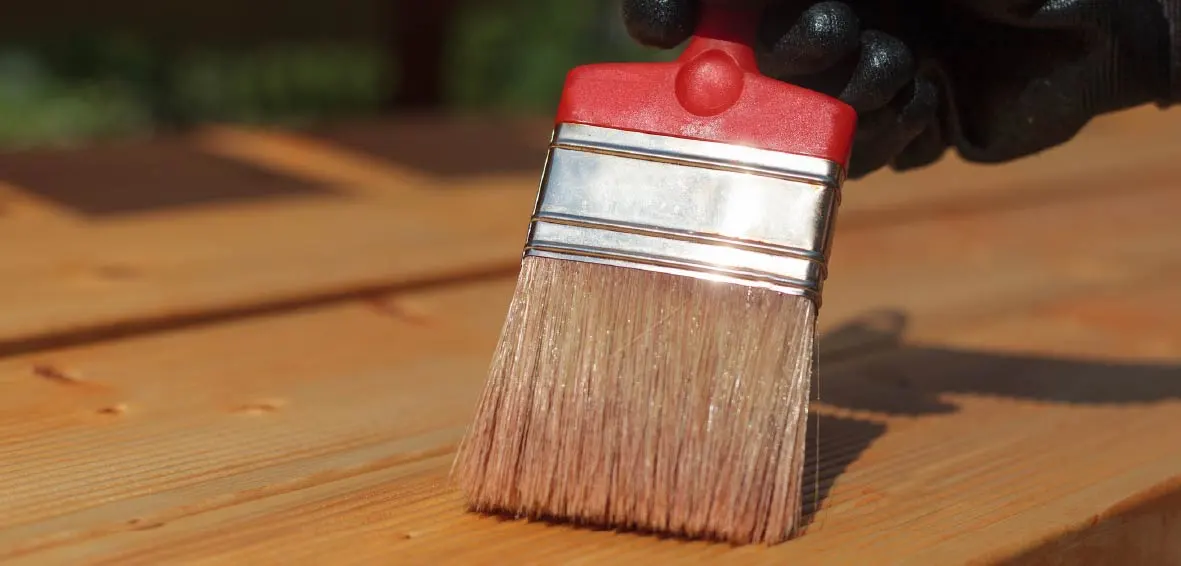
5. Sand and finish the deck surface
Your deck surface should be dry and paint-free. Now, it’s time to finish the deck to protect it from damage.
Sand the decking with a high-grit sandpaper for a smooth finish. Sweep or rinse the remaining dust away and let it dry if wet.
Now apply a coat of stain and/or paint and sealer. This finish will guard against water and may prevent UV damage, but it won’t last forever. Inspect your deck’s surface annually and refinish the decking as needed every 1-3 years.
Skip continuous sanding and painting with low-maintenance decking
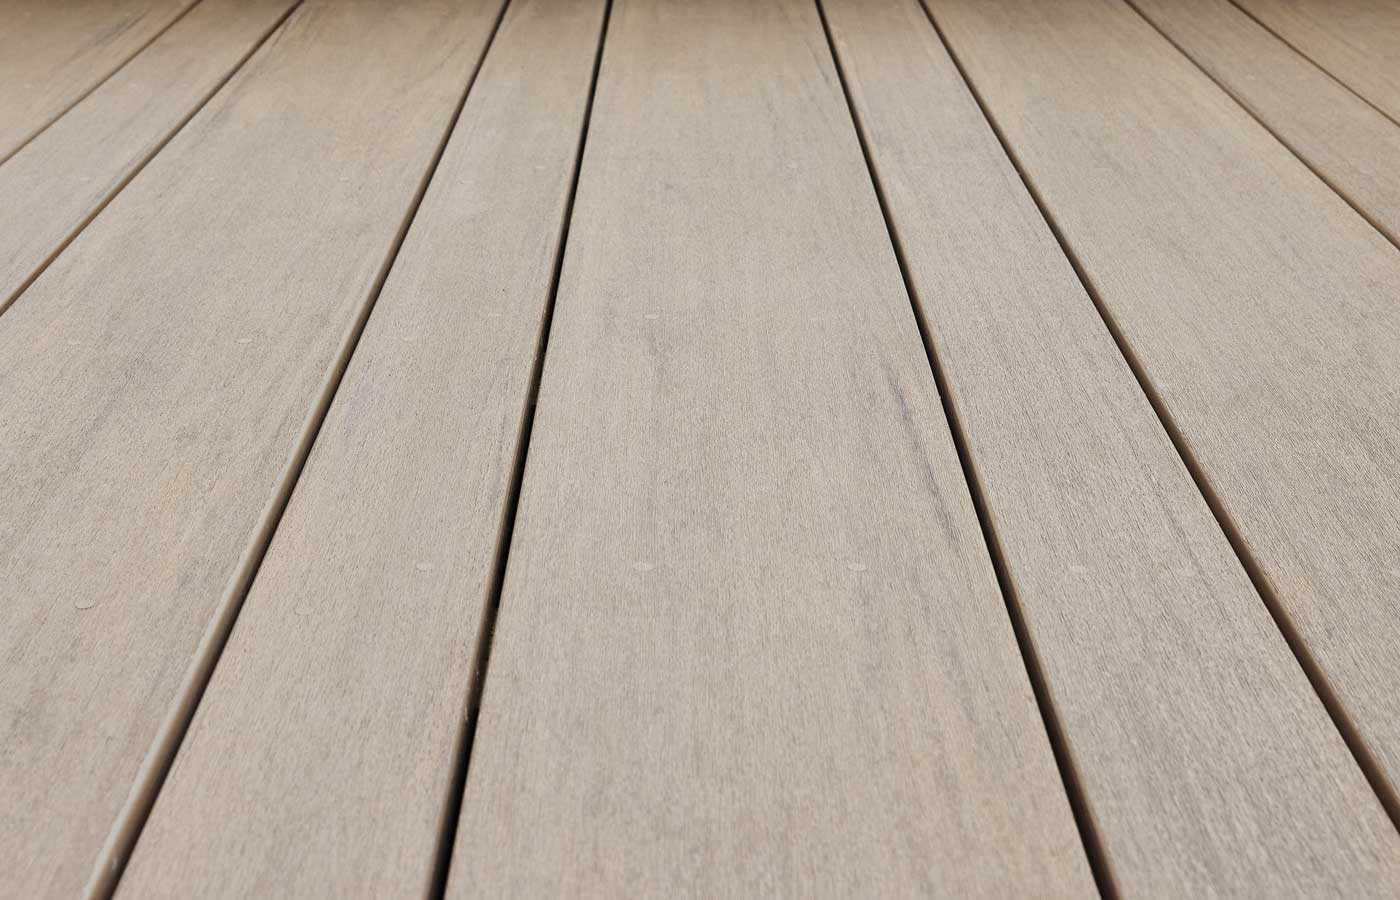
When it comes to wood vs. composite and PVC decking, the low-maintenance perks of TimberTech® Advanced PVC and Composite Decking are hard to beat. Manufactured materials don’t require sanding or sealer, lasting 50+ years. This means less time and money spent on annual maintenance, and you never have to know how to remove paint from your deck.
Order free decking samples to see the difference for yourself and enjoy the real-wood textures and superior quality of TimberTech Decking.
See & feel the TimberTech advantage
Our Advanced PVC and Composite Decking lines combine recycled materials with all the beauty of traditional wood, making them the ultimate eco-friendly decking materials.