Must-have deck-building tools include many common tools, like power saws and measuring tapes. Chances are you don’t need to restock your garage to build your deck. However, different tools are ideal for different materials and deck designs.
Hand tools are always great to have around the house. They’re usually affordable, and many manufacturers offer lifetime warranties for replacement or repair. So they’re a solid investment for your toolbox.
Power tools are more expensive and often require accessories like batteries and bits. You can pay to borrow these from your local hardware store instead. This is especially handy for specialty tools that you likely won’t need for regular use.
Learn more about deck tools to organize your hardware store list before you begin to build.
In This Article:
Eye and hearing protection

Personal protection is important in any home renovation project, and deck installation is no exception. Safety glasses and ear plugs or protective earmuffs are must-haves when working with power tools.
Leather utility gloves and well-fitting clothing can also help prevent injuries from splinters, debris, and tool mishaps.
Tape measure
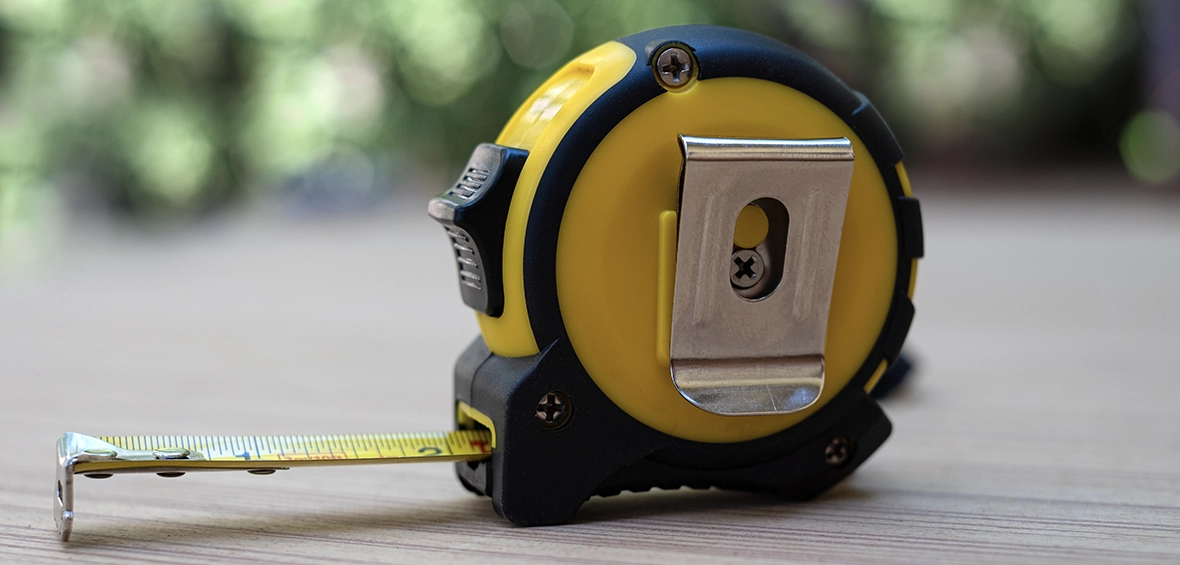
A tape measure is a handy way to measure distances, including board lengths, proper deck joist spacing, chalk lines, and more. A 25-foot tape is common and works for most projects, but several tape lengths are available.
TimberTech Tip:
Always measure twice before cutting to ensure your decking fits properly.
Squares
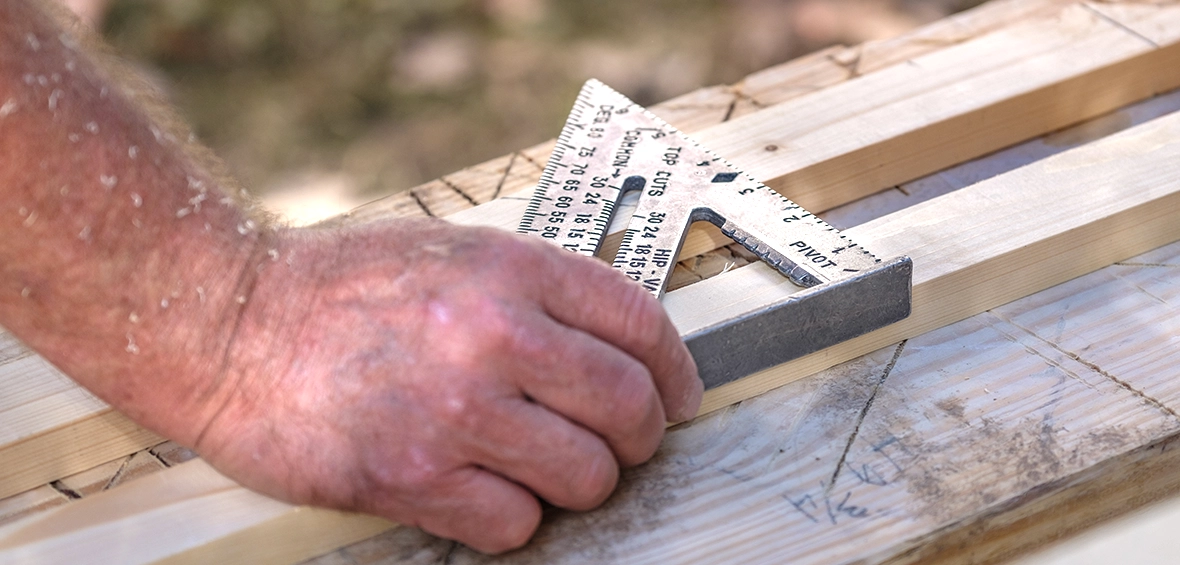
Squares are measuring tools with a right angle to help measure and mark sharp corners and cuts. There are two types of squares available:
- Speed square: A triangle-shaped tool with marked measurements along the edges and cutouts within the tool to serve multiple carpentry purposes.
- Combination square: A ruler with changeable heads to create a right angle like the speed square, but offers more versatility for woodworking, masonry, and metalworking.
Each is a fine fit for deck installation, and they’re available with additional features like built-in bubble levels.
Chalk line
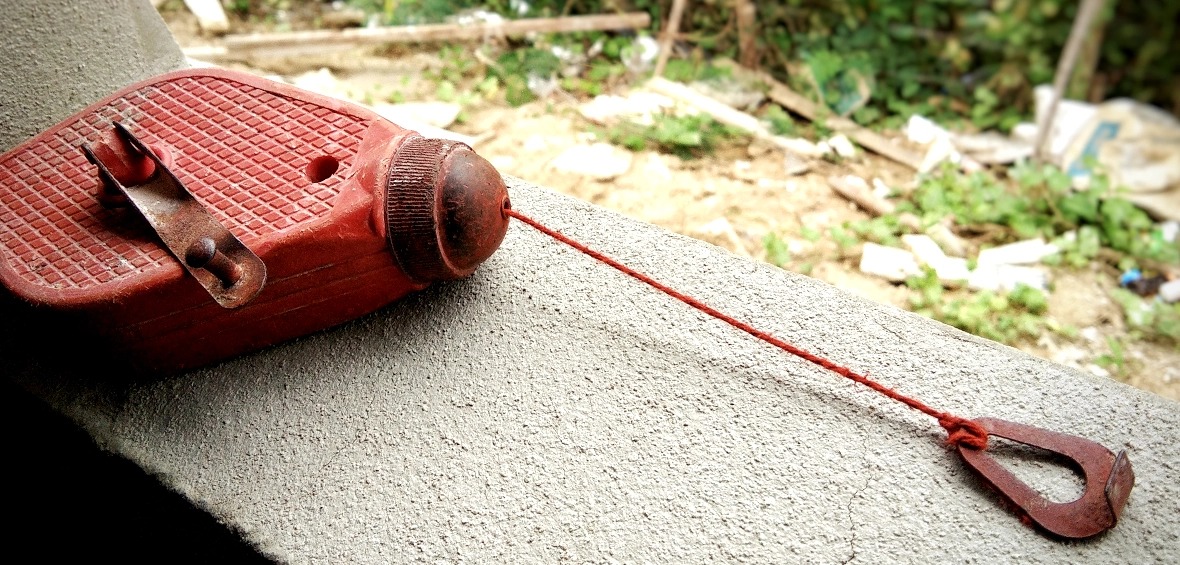
Chalk lines help builders make a precise and straight mark for cutting and alignment. They consist of string coiled in a plastic case that you can fill with chalk to coat the line.
Here are the general steps to using a chalk line:
- Measure and mark your cut on the material you’re cutting.
- Use spare lumber with a nail to secure the chalk line’s loose end. Tie the line around the nail and place it on one side of the material you’re cutting.
- Align the chalk-coated line with the marked measurement and pull the line tight.
- Pull the line up four inches and release it to “snap” a straight chalk line at the measured mark. Make sure you pull directly up and not to one side.
- Remove the chalk line and measure for accuracy before cutting.
Level
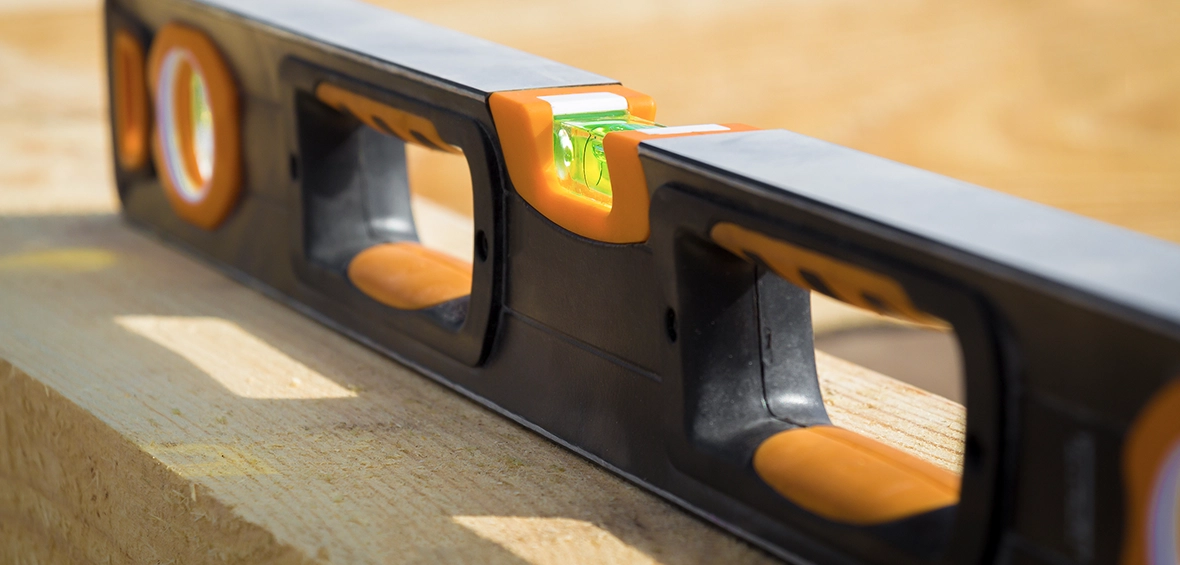
Levels show if something is even and without a slope. This is important for your deck’s structural integrity, so you don’t want to build a deck without one.
Bubble levels are the most common in carpentry, and they’re affordable and easy to find. They use air bubbles in fluid with a marked center to help you identify uneven slopes and adjust before installing a material.
Laser levels are the modern upgrade, and they use a focused light beam to mark a perfectly level line. This saves time with a chalk line, but not all laser levels are great for outdoor use.
Finally, plumb bobs are vertical levels with a pointed weight suspended from a string. They’re simple tools that use gravity to help you identify the vertical or plumb.
Shovels and excavators

Excavators dig into the ground and are great for removing grass before leveling your deck site and creating post holes for your substructure.
Digging shovels are the most common excavators and can cover many of your deck-building needs. Though some other specialized shovels can make the job easier.
Posthole shovels dig deep in the ground and maintain a narrow hole that you can use for deck and fence posts.
Flat shovels are also handy for preparing your deck site. They’re extra large, so you can easily move topsoil or place landscaping stones and gravel for a clean under-deck space.
Clamps
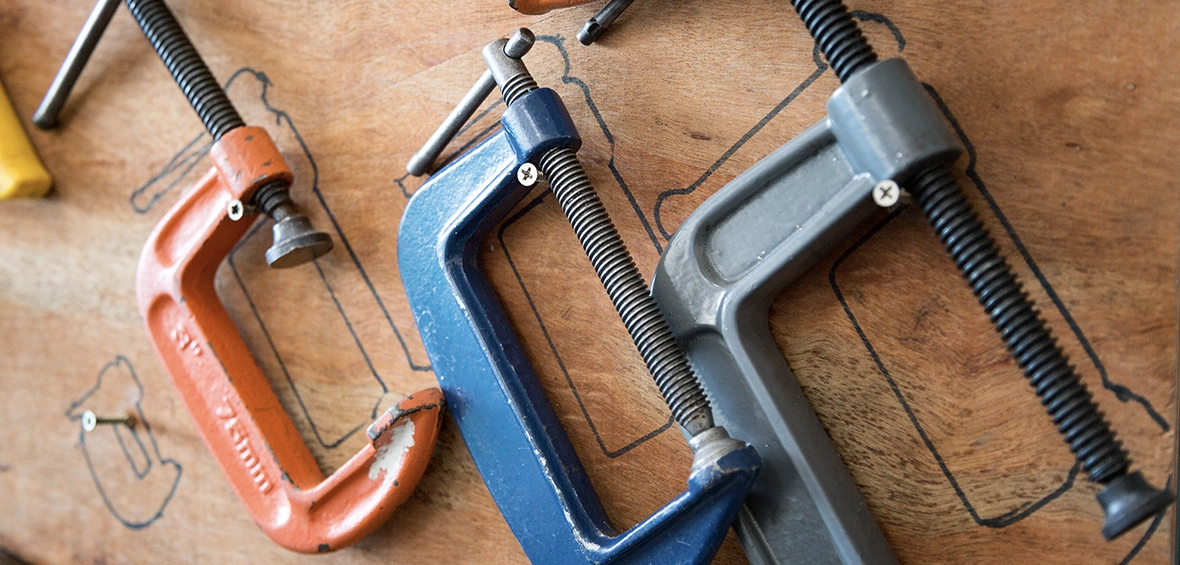
Clamps are essential in carpentry and will help you create precise joints. They use pressure to hold multiple materials together so you can secure them with glue, screws, or other attachments.
There are several sizes and styles to choose from, and you’ll likely need several clamps to finish the job.
- C clamps: Common and versatile clamps ideal for gluing materials together.
- Bar clamps: Larger clamps with adjustable arms to work with larger pieces.
- Spring clamps: Light-pressure clamps that are fast to set for smaller areas and projects.
Saw horses
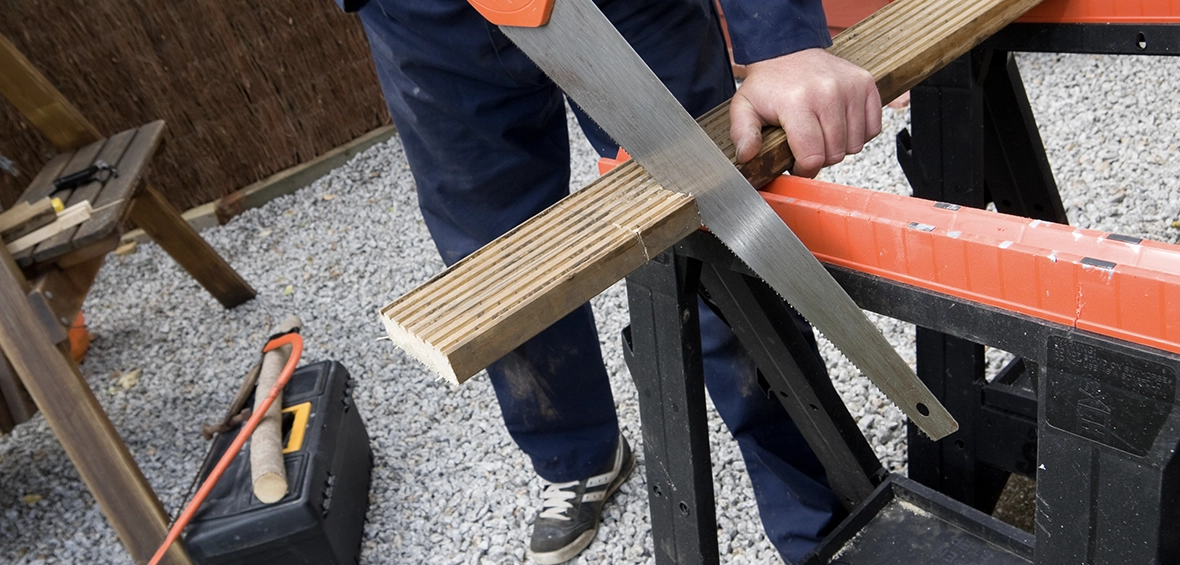
A sawhorse is a simple A-frame tool that elevates and supports a material while you measure and cut it. They’re made of plastic, metal, or wood and typically come in sets of two. Modern plastic sawhorses have extra features like adjustable heights and arms, and they fold for easy storage.
These are ideal if you want to move your workspace closer to your deck site or don’t have a workbench. They can even double as a tabletop workspace if you lay plywood over them when you’re not cutting.
Circular saw
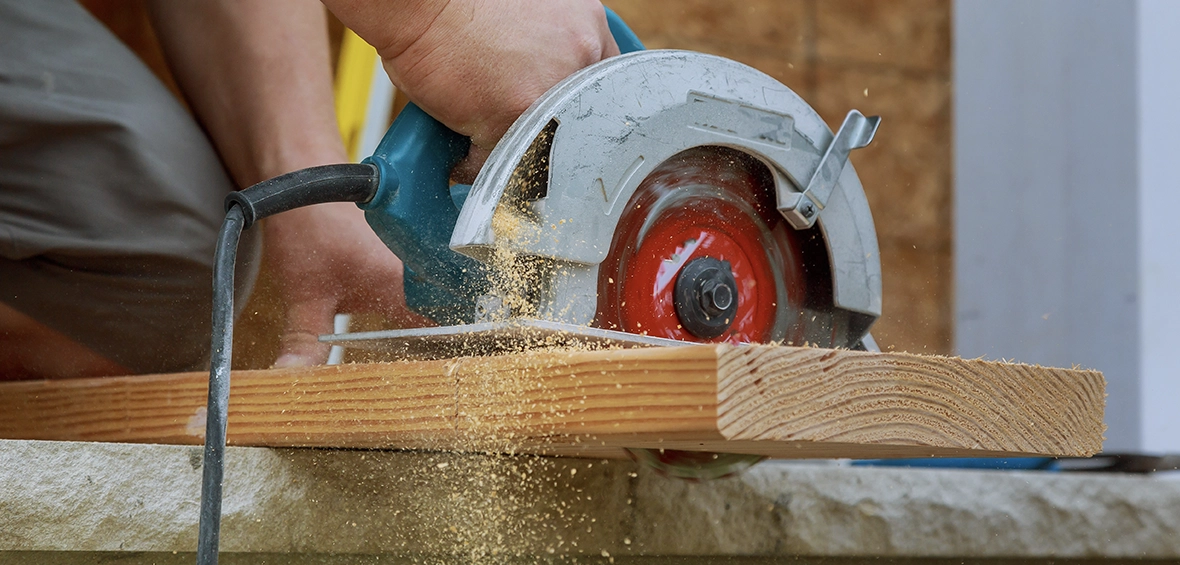
The circular saw is the first power saw on our list. It’s ultra versatile and compact, so you can use it for almost any basic cutting job.
The saw blade and tool are circular, and the tool features a handle and blade guard for safety. It’s lightweight and portable, so you can bring it to your job site instead of keeping it locked to a workbench.
Miter saw
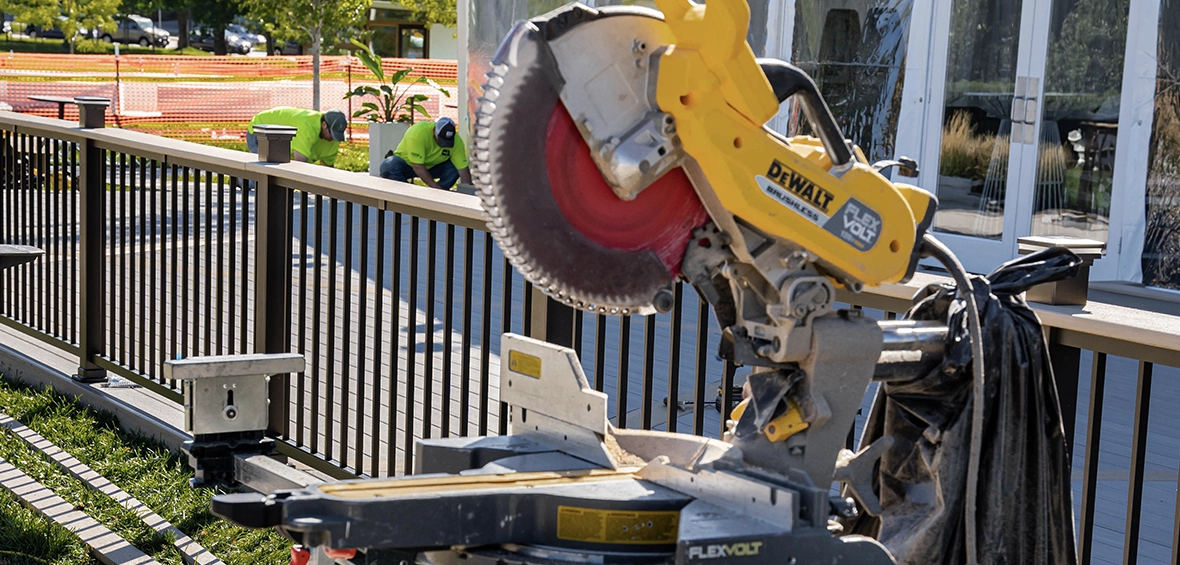
Miter saws also use a circular blade, but the tool includes an adjustable stand that allows you to make precision cuts at an angle. These are ideal for connections like miter joints—hence the name.
They’re not as portable as circular saws and are best kept in one place. That said, you can purchase portable miter saw stands if you’ll be working on-site often.
Table saw
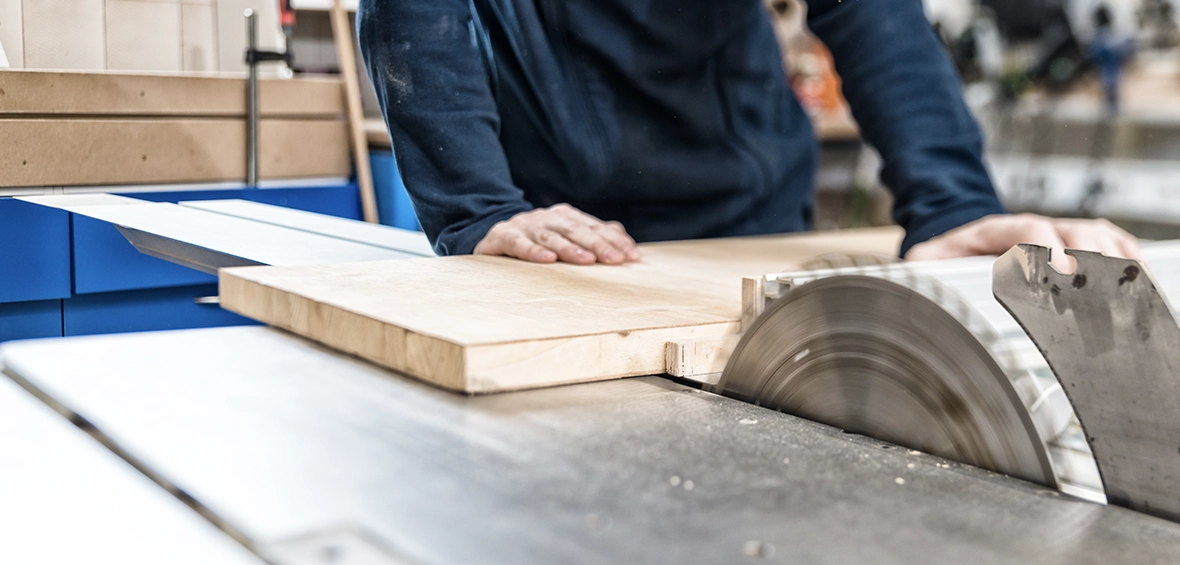
Table saws are almost the opposite of a circular saw. Instead of a compact, circular body, the saw blade is embedded into a work table and reaches through the top. You guide your material over the table, and the saw blade cuts from below.
Table saws are your best bet for precision cuts, particularly for long material pieces that would be difficult to freehand with a circular saw.
Jigsaw
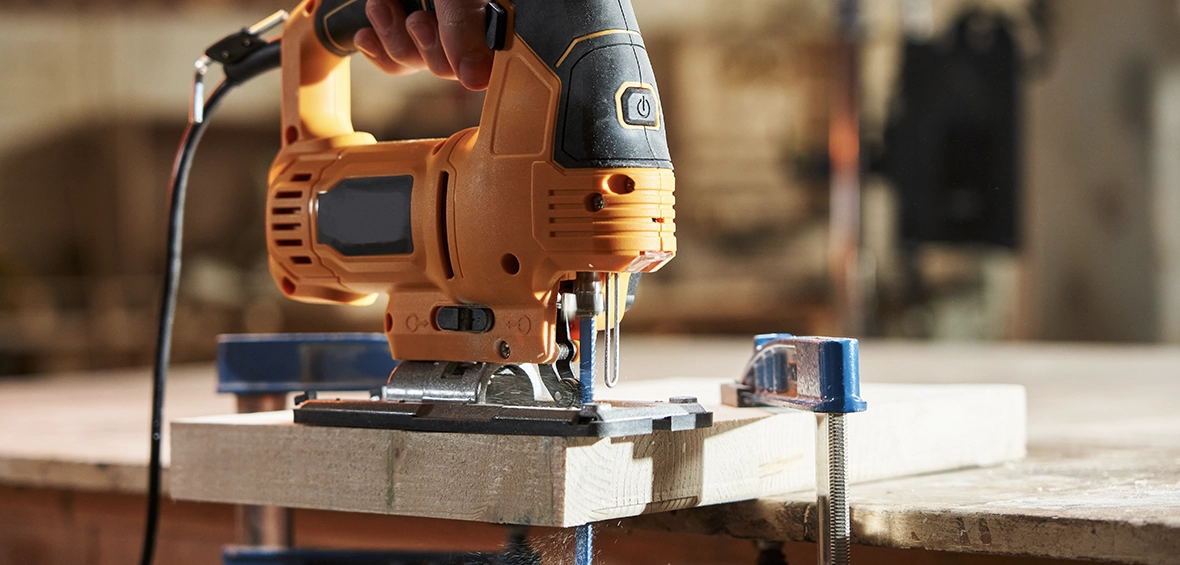
Jigsaws are compact and portable saws that use a straight blade instead of a circular blade. Its lightweight design and blade made it the perfect choice for custom shapes and patterns, like cutting around a tree or post.
Jigsaws work best with lightweight material and will do fine on decking. But you’ll want to invest in different blades to cut heavier materials like metal.
Power drill
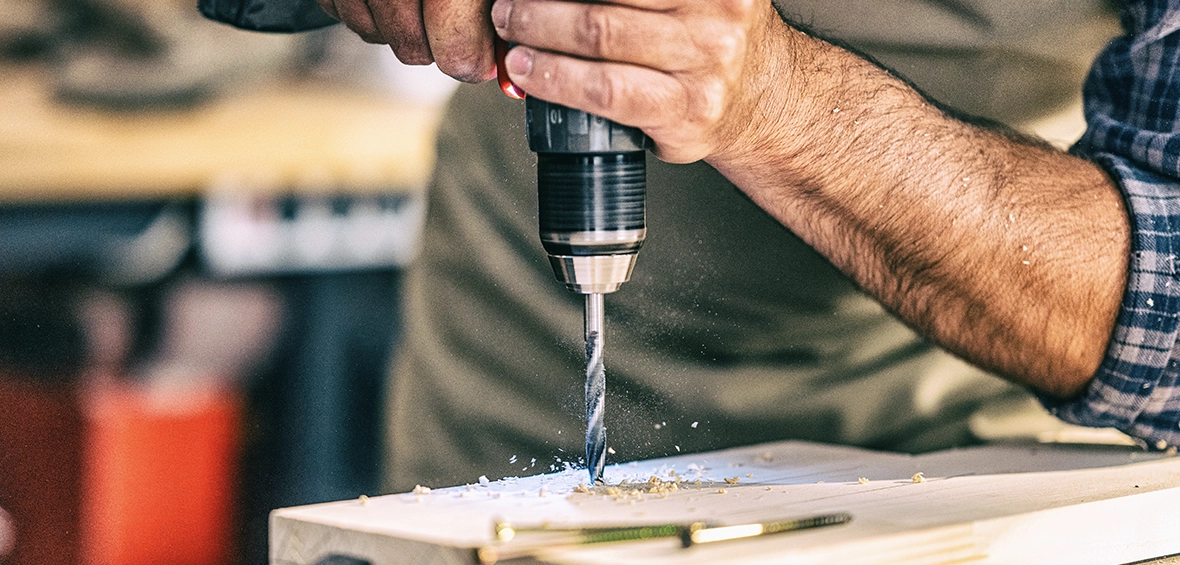
The power drill is a must-have home tool, so it’s time to visit the tool store if you don’t already have one. They use several drill bit lengths and sizes to create precise holes, and you can even get hole saw bits for large, perfectly-circular holes.
You’ll likely use a power drill to create pilot holes for your deck and avoid splitting and splintering wood joists. Many drills are also drivers, so you can swap out your drill bit for a screwdriver bit to easily secure screws.
Wood sander
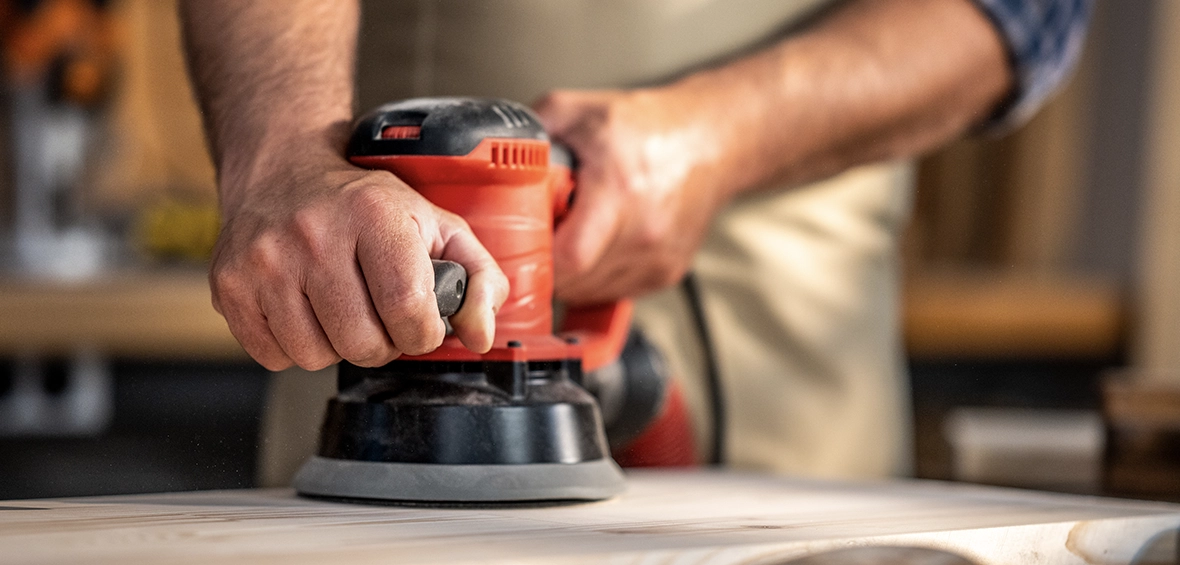
Wood deck owners will need a sander to finish their deck and keep up with annual maintenance. Sanders use sandpaper with varying grits to exfoliate wood for a smooth finish. This is a must to prepare wood decking for a protective coat of sealant or stain.
PVC and composite decking comes with a wood-texture finish in your color choice, so you shouldn’t sand them. Manufactured decking is ready to enjoy right after installation, and you don’t need to sand and stain it every year.
Deck hardware
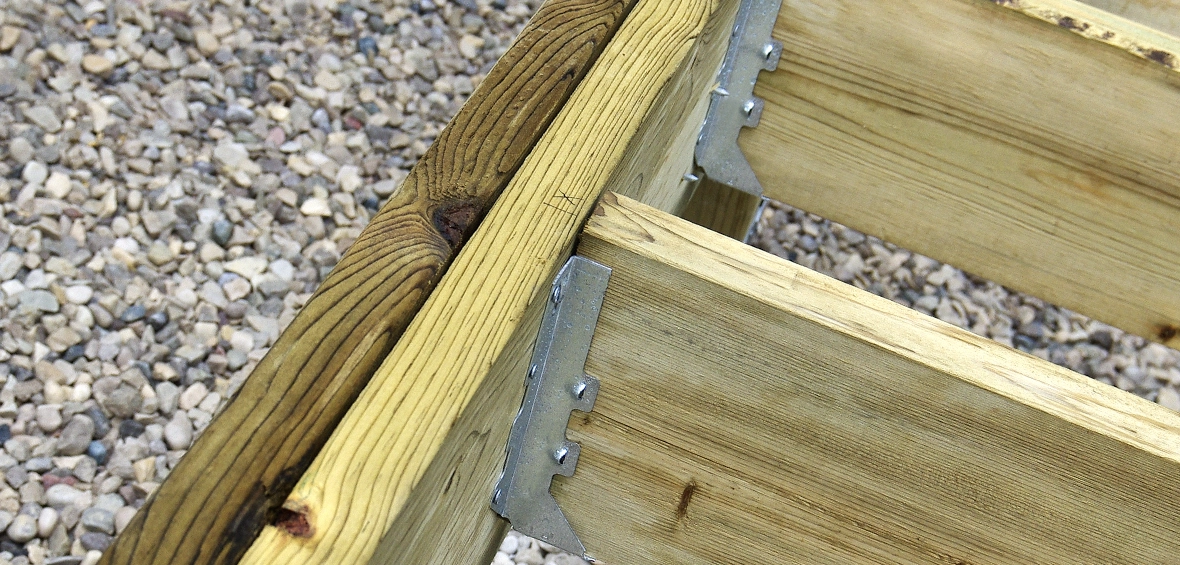
Deck hardware includes any fasteners and joist brackets you’ll need to build your deck. You may have to use specific fasteners based on your deck manufacturer’s guidelines. Otherwise, you can choose what works best for you.
Here’s some common deck hardware to know:
- Lag screws: Large wood screws for securing a ledger board to a house.
- Through bolts: A high-performance bolt that passes through multiple materials and uses nuts and washers to join them. An alternative to lag screws.
- Joist hangers: Support joists and connect them to beams in your substructure.
- Post anchors: Metal brackets that secure wood posts to concrete footings.
- Cortex screws: Hidden, top-down fasteners that secure your decking boards.
- Exterior screws: Corrosion-resistant screws rated for exterior use.
There’s a good chance you already have the deck-building tools you need in your garage. But if you’re looking over the list and dreading your trip to the hardware store, consider hiring a professional contractor to build the perfect deck without all the fuss.

Bring the Beauty of TimberTech to Your Backyard
Work with a TimberTech pro for a build that transforms your outdoor living space.