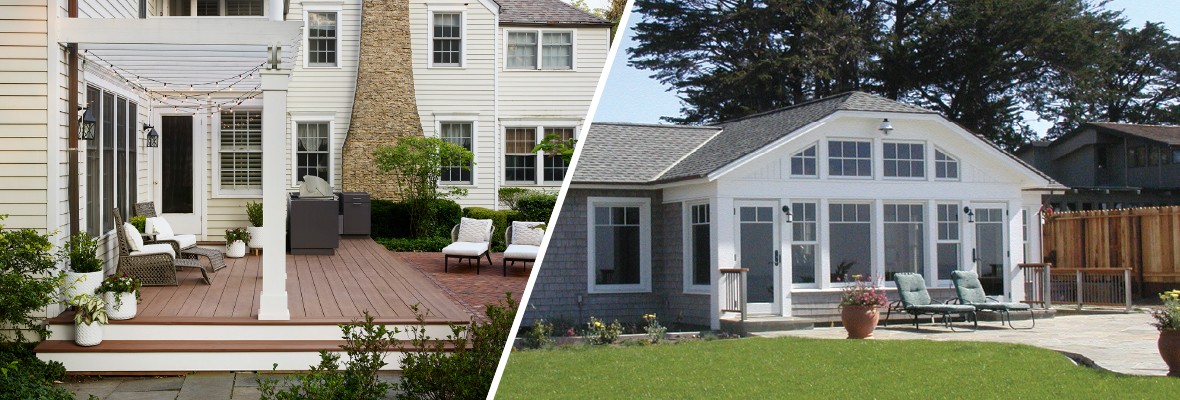
Thinking about covering your old concrete slab or patio with a beautiful new deck? Building a deck over concrete can transform your space into a more enticing and functional outdoor living space, but following best practices is key.
When installed properly, a deck over concrete has several long-lasting benefits — especially when you choose durable TimberTech® Advanced PVC or Composite Decking.
In This Article:
- Will this work for your patio?
- Best practices for installing a deck over concrete
- Re-imagine your space
Will this work for your patio? 4 questions to help you find out
A sturdy concrete patio makes a great foundation for your new deck, while a cracked or sinking patio can cause headaches. Not every concrete slab can be built on, so you need to know the right questions to ask before diving into your project.
Consult a contractor if you’re new to DIY or unsure how to evaluate your patio to ensure a safe and solid deck.
Will this project block any existing doors?
Building a deck over your concrete patio raises its surface level by a few inches at least. This can easily block existing doors or create a tripping hazard between levels.
If an existing door is less than a few inches above the patio, there might not be enough room for the deck substructure, and you’ll need to customize your design.
Consider steps between the deck and yard or a ramp from a patio door to the deck. Don’t forget to check local building codes and install secure guardrails if your deck surface exceeds 30 inches tall or whatever height the local code requires.
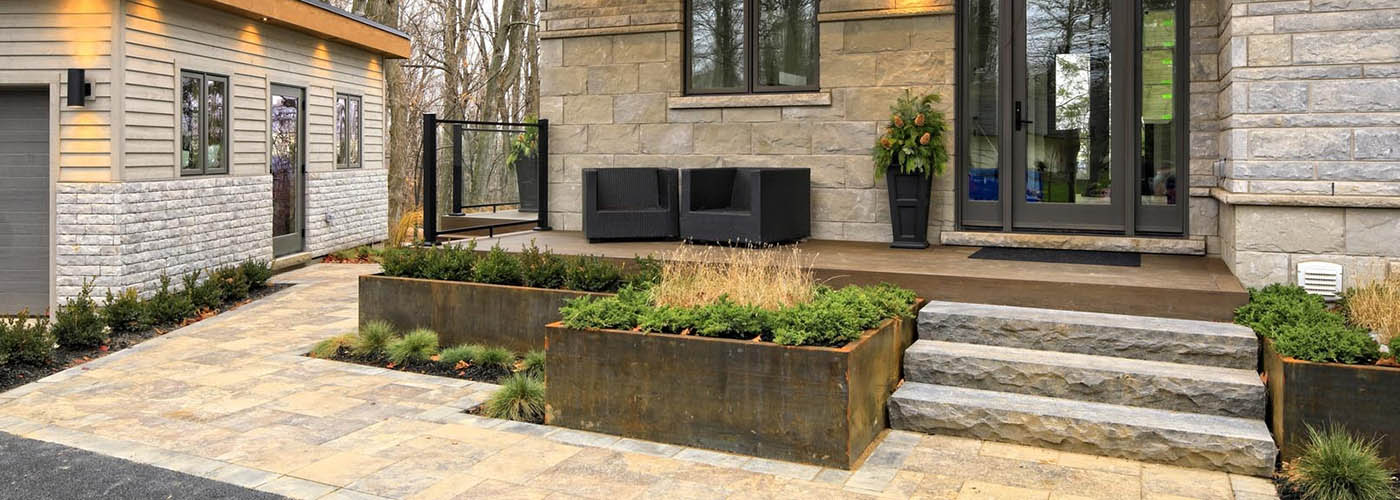
Does the pre existing patio have multiple levels?
Depending on your deck design, working around existing stairs and multiple levels can complicate your project. If you choose to build a multi level deck that matches your patio layout, you can build the substructure to the same height on each level and over concrete steps.
Turning a multi-level patio into a single-level deck requires some more detail. The substructure on the lower-level patio needs enough height to sit flush with the upper-level patio’s substructure. So if your patio has two levels that are six inches different in height, you’ll need to add six inches with spacers or post height to the lower-level deck.
Similarly, you’ll have to raise any existing stair treads the same distance to accommodate the new height. You may have to build new stairs if the rise is significant.
Is the concrete in good condition?
It’s vital to inspect an existing slab for cracks, shifting, or water damage. Exposure to the elements causes concrete to swell and contract over time, and all patios eventually require some repairs.
Take care of any needed repairs before investing in your deck:
- Sinking: mudjacking or replacement
- Water damage: identify and correct water leak; patch or replace damaged concrete
- Cracks: patch minor imperfections with epoxy, latex, or mortar mix — replace slabs with significant cracks
You may have to remove your patio instead of building over it if it has large cracks or extensive damage. Depending on height, you don’t have to remove your concrete if you’re able to drill or cut through the existing slab and install a post and footer substructure.
Best practices for installing a deck over concrete
Once you’ve inspected your concrete and drawn up a deck plan, you’re ready to gather materials and prepare for installation. Remember these tips to guarantee a long-lasting deck and safe, beautiful outdoor living space.
1. Make sure you have the right tools and materials
You’ll need the right tools to install a deck over concrete patio surfaces. If you don’t own one or more of the tools below, you may be able to buy or rent them from a local hardware store. You’ll also want to confirm that all materials are rated for outdoor use.
Note that you’ll need different tools and materials if you’re installing a sleeper system attached to concrete.
| Tools: | Materials: |
|---|---|
| • Miter saw • Jigsaw • Cordless driver • Hammer • Measuring tape • Level • String line • Shovel | • Flashing tape • Decking boards • Joist boards • Concrete fasteners • Deck board fasteners • Framing lumber • Concrete |
The time and money you’ll spend vary depending on your specific project goals and designs. Decks often take several days to build, and it can take even longer for complex designs or inexperienced builders.
2. Construct a securely attached substructure
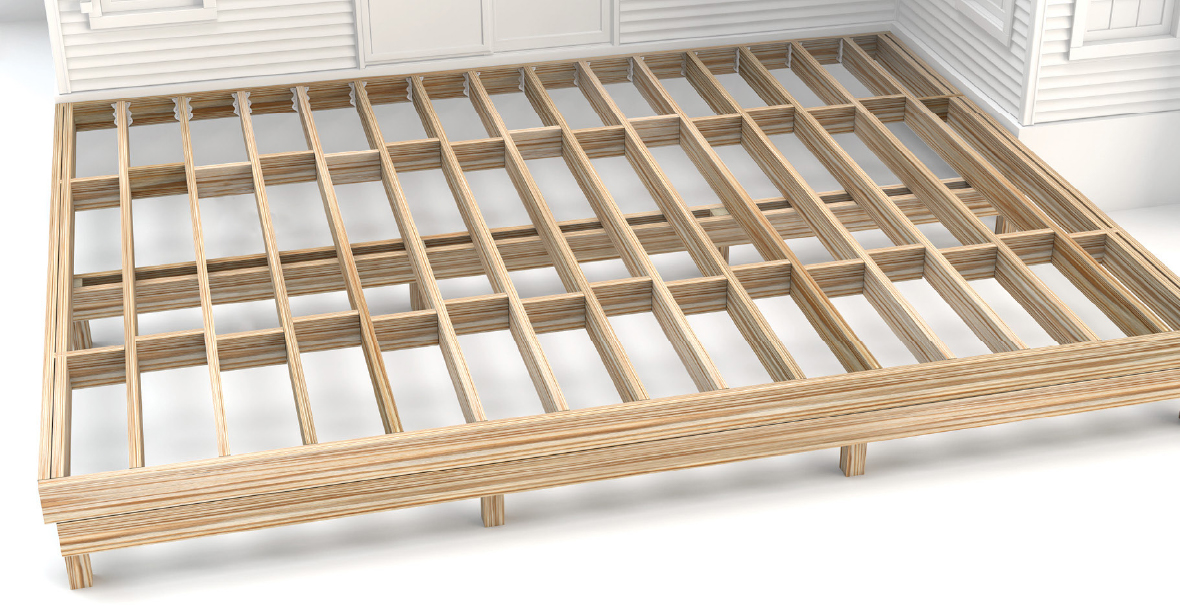
A properly-installed substructure is essential for a safe and well-installed deck. You can build a traditional post and footer substructure, or install a sleeper system when building on top of concrete. A sleeper system connects directly to the concrete using fasteners such as tapcons to lift the deck surface.
We recommend building an elevated substructure with posts and footers for improved durability and water resistance. Sleeper systems install joists directly to the concrete, so your deck will inherit any flaws in your concrete slab, including sinking, shifting, and uneven installation.
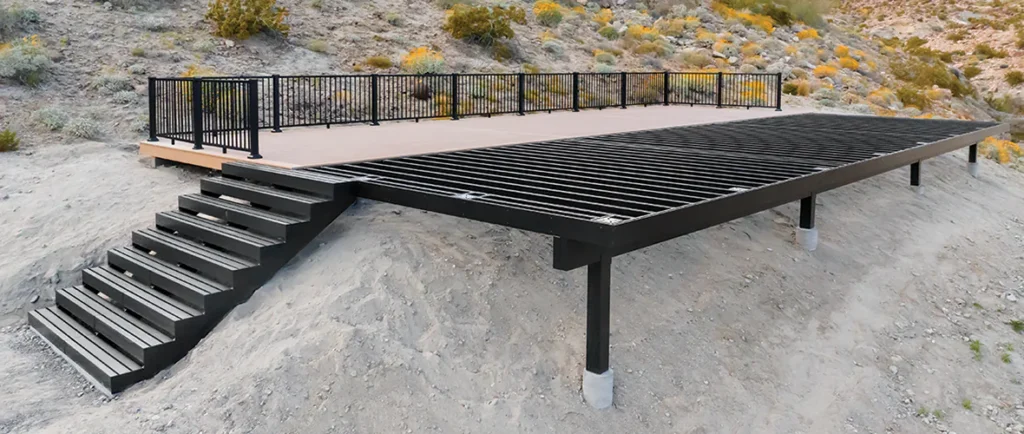
Here are the general steps to install a post and foot substructure through your concrete:
- Measure the perimeter: Use string lines to measure your deck and identify support post and footing locations along the frame. This depends on your joist size and spacing.
- Install concrete footings: Install concrete footings in the appropriate locations and ensure they sit below your location’s frost line. Remove existing concrete to install fresh footings if the slab intersects with the footing placement.
- Install posts: Install posts in your footings, ensuring the concrete and lumber don’t touch directly to avoid moisture damage.
- Build the frame: Install joists, blocking, ledger boards, and other substructure components to complete your framing.
Continue to monitor your joists and substructure as you build to ensure joists are in plane and level across the tops. Take special care to install your ledger board properly for structural integrity and safety.
3. Protect the substructure with joist tape
Moisture penetrates lumber and causes it to crack, split, and rot, so water resistance is key for your deck’s durability. Joist flashing tape is a barrier that goes on top of joists to protect them from sitting water and damage. This prevents mold, mildew, and rot to improve structural integrity and extend the life of your deck.
Install joist flashing tape on top of your joists for the best protection. Pay special attention to the ledger board area since it’s a critical structural element for your deck.
In addition to joist tape, consider installing a water management system like TimberTech DrySpace under your deck to redirect water away from the patio and substructure. This can prevent water exposure and increase your usable space under the deck.
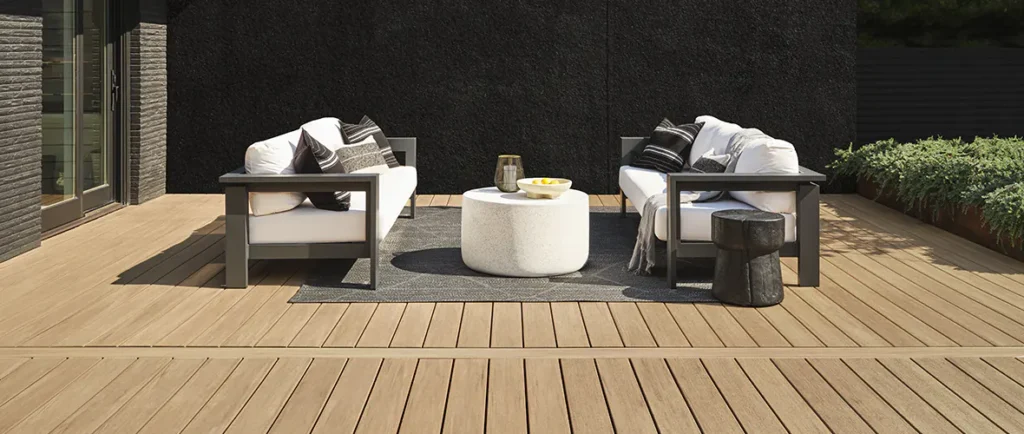
4. Install the surface boards
When the substructure is complete and properly treated to resist moisture damage, it’s time to build the deck surface.
The exact decking installation process to follow depends on your material choice, deck design, fasteners, and more. Always consult manufacturer instructions and a qualified professional for installation details, and follow these best practices:
- Use spacers for consistent placement between deck boards.
- Install a perimeter fascia or rim board to hide unattractive board ends and polish your deck design.
- Try hidden fasteners for a sleek finish.
If you’re installing wood decking, you’ll also have to sand, stain, and seal your deck boards and allow the sealant to cure before enjoying your deck. However, manufactured decking is ready for use once the last board is installed.
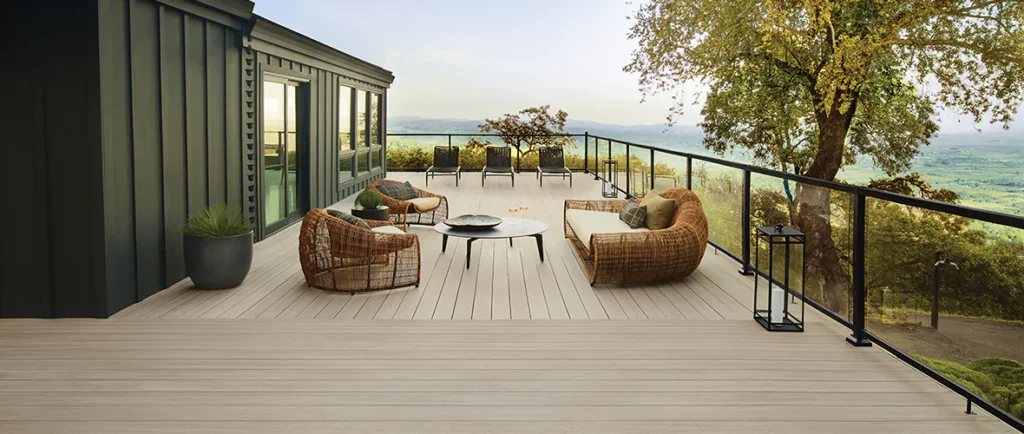
5. Finish your deck surface
In addition to the deck boards, your structure may need stairs, guardrails, and deck lights to be complete. Guardrails are typically required for decks taller than 30 inches, though this varies by location and you should always check and follow local building codes. Stairs are also important for accessibility, and lights improve safety and design.
After every last component is installed, you’re ready to decorate and relax.
Reimagine your space by building over your old patio
Ensure your finalized deck over concrete project is just the way you envisioned — and what you deserve — by partnering with a TimberTech-registered contractor. Minimize stress and get ready to enjoy your enduringly beautiful deck over concrete for years to come.

Bring the Beauty of TimberTech to Your Backyard
Work with a TimberTech pro for a build that transforms your outdoor living space.