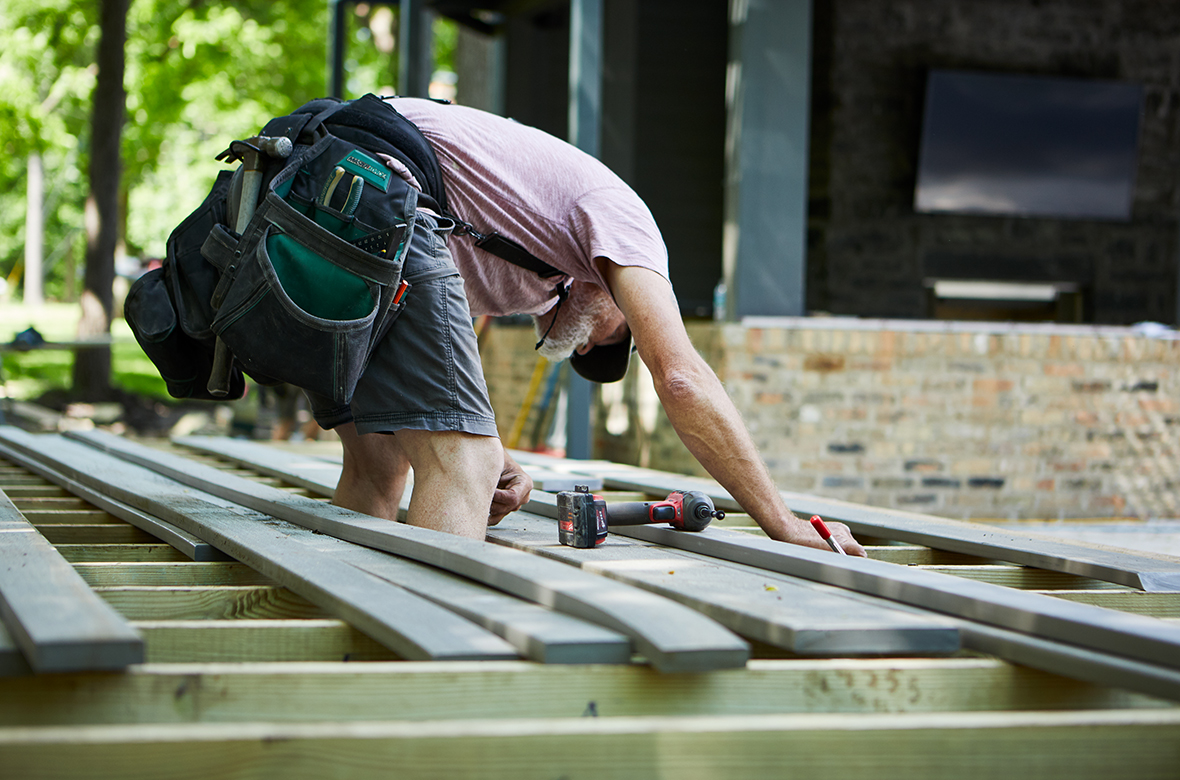
Platform decks, also called floating decks, are low-lying structures that are detached from the house and can be built anywhere in the yard. They’re typically simple rectangular designs that can save time and money on installation, and they’re easily customized to your preferred size, color, and decor.
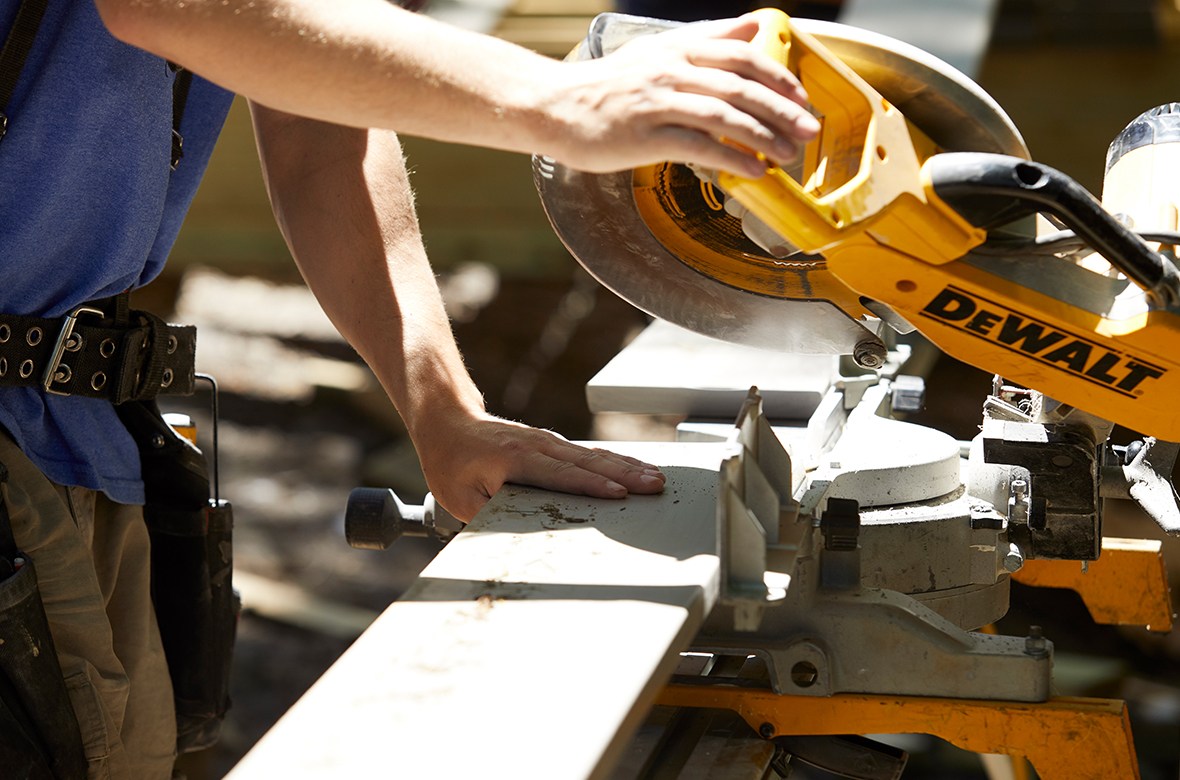
Decks are an intermediate home improvement project, so it’s best left to the professionals or experienced DIYers. But if you know your way around a miter saw, you can build your own platform deck with these step-by-step building instructions.
How To Build a Platform Deck:
- Plan Your Deck
- Prepare for Pre-Construction
- Lay Out Your Deck
- Set Footings
- Align Rim Boards
- Set the Frame
- Lay Deck Boards
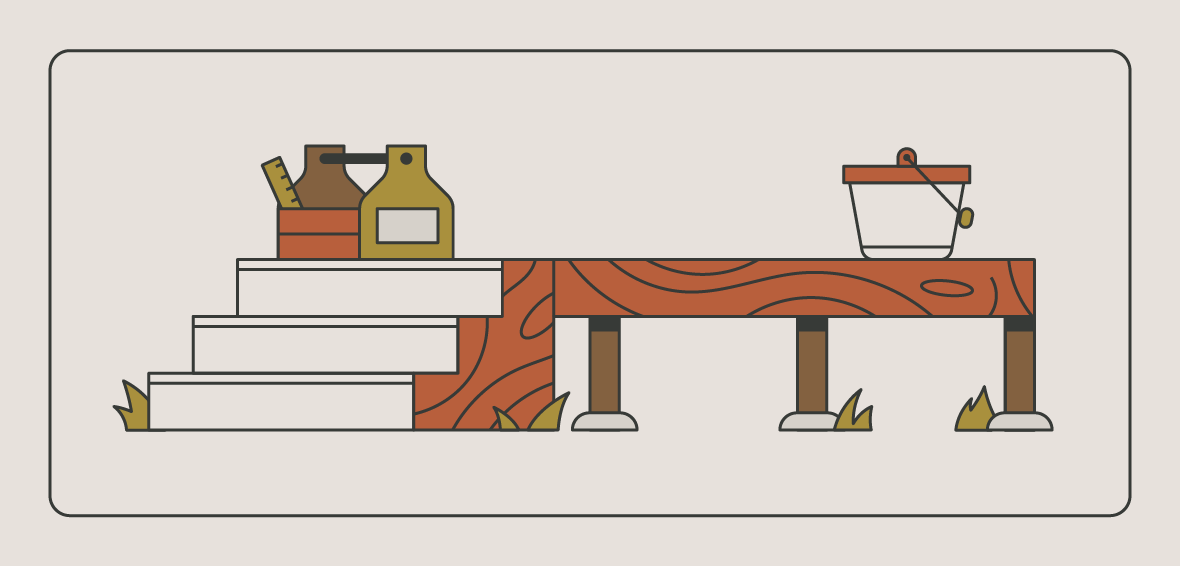
Required materials and tools
You’ll have to prepare the deck location, settle on a deck design, and gather materials before you’re ready to build. Check out the required tools and materials below to determine what you need to buy or borrow.
DIY Difficulty: Intermediate
Cost: >$2,500–$4,000 (varies by material)
Time: 40–50 hours
| Materials*: | Tools: |
|---|---|
| • Landscaping fabric • Stone or gravel • Stakes • Deck screws • 2″ x 6″ joist hangers • TOPLoc® fasteners • 2″ x 6″-2″ x 10″ pressure-treated lumber • 4″ x 4″-8″ x 8″ deck posts • Decking boards (composite, PVC, or wood) • Fascia boards • 1/4″-3/16″ x 1″ exterior trim • 12 lbs. of concrete mix *Materials may vary according to your preference and deck plans. | • Safety glasses • Wheelbarrow • Shovel • Hammer • Measuring tape • Line level and string • Post level • Tamper • Hammer drill • Cordless drill • Post hole digger • Miter saw |
Step 1: Plan your platform deck
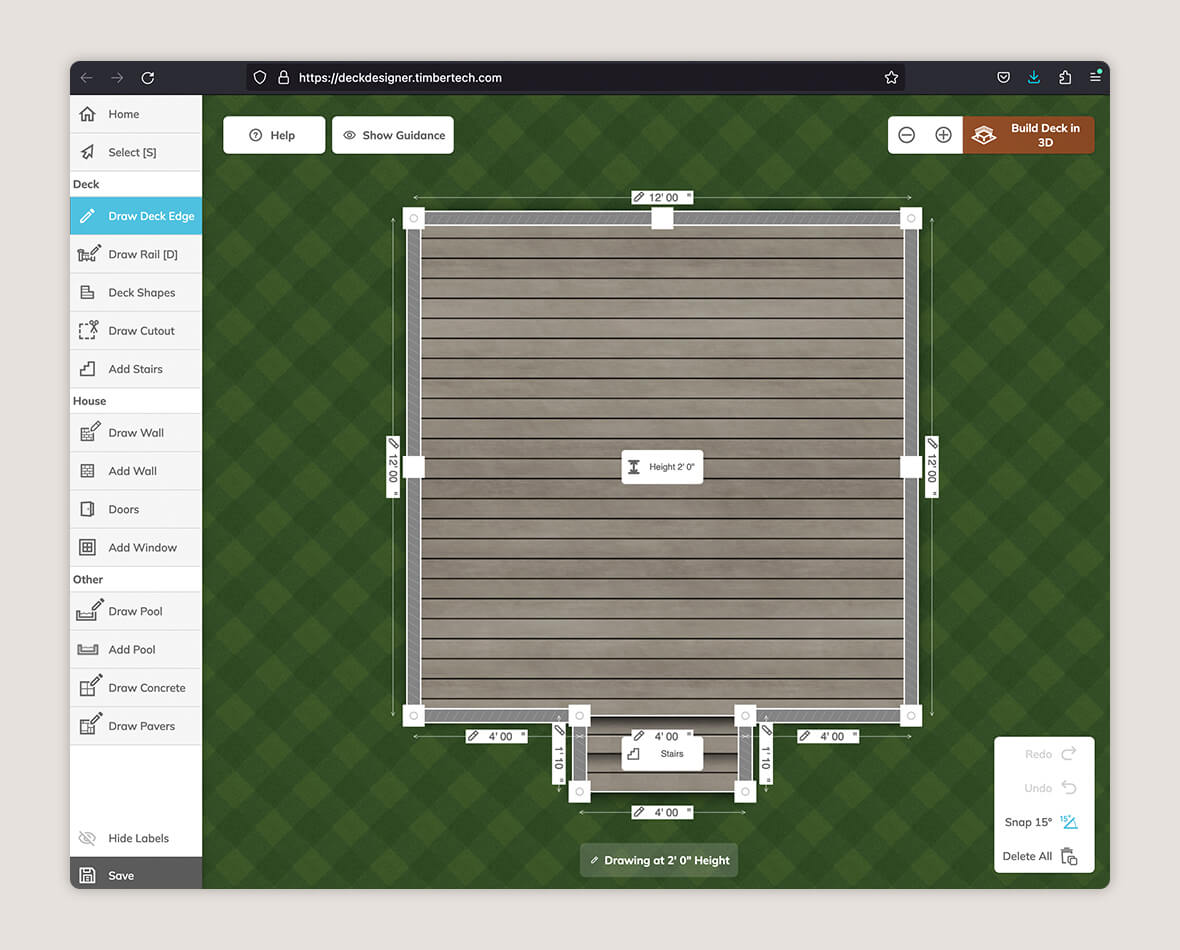
Before you can start building, you need to come up with a plan that considers the deck’s:
- Location
- Size
- Shape
Once you have these, you can determine how much of each decking material you’ll need to complete the project and begin gathering tools and materials.
You can also start with detailed building plans that include everything you need to know to build your new deck. Otherwise, you may consider hiring a contractor to take care of the pre-construction and building phases.
Step 2: Prepare everything you need to build
Once you have a plan in place, you can work through your pre-construction checklist.
- Check your local deck building codes and file for any permits you need.
- Call 811 to ensure you’re safe to dig if you’re installing deck posts instead of using concrete blocks.
- Review your deck plans and make sure they still abide by any local regulations.
You can start shopping and collect any materials you still need for the job once you confirm your building plans are good to go.
TimberTech Tip:
Since platform decks are detached from the home, you may not need a building permit, but it’s always best to double-check before construction.
Step 3: Lay out your deck plan
Mark the location of your deck before you build so you can determine where to install your posts and foundation. There are a few steps to prepare your area.
Frame the project space
- Place batter boards outside the deck’s designated area. You can create these using stakes and attach them in the shape of a staple, with two on each side and a horizontal connecting piece.
- Measure the size of your deck and place batter boards in each corner so they’re square.
- Connect the batter boards with string to outline your deck.
- Measure the length, width, and diagonal distance between batter boards, and be sure they’re consistent so you have an even shape based on your building plans.
- Ensure the strings are level and square — adjust your frame as needed.
- Once everything measures correctly, mark where the strings are on the batter boards.
Prepare the ground
Now it’s time to prepare your deck location. Clear any debris, grass, and topsoil, and level the area before you begin. Once everything’s clear, layer landscaping cloth and an aggregate like stone or pavers to create a base for your deck foundation. Ensure the ground is level before moving forward.
Mark post locations
Next, you’ll mark five post locations using the four corners of the deck and a center post. Start by measuring the line and marking each location on the line with a marker or stake. Remeasure for accuracy and place a marker on the ground with paint.
At this stage, you can remove the string lines, but keep the batter boards in place.
Step 4: Prepare footings

Footings hold the posts of your deck’s substructure and are a vital support structure. Floating decks can use traditional footer and post installations as detailed below, or deck blocks.
Traditional footer installation offers the longest-lasting support, but footer blocks are more convenient. If you choose to use support blocks, consult the manufacturer and your local building codes to determine how many you need.
Ensure your footings are installed and spaced correctly to withstand changing weather and ground conditions.
Create footings
Dig holes for your five posts where marked — one in each corner and one in the center. These should be the same diameter as the posts you’re installing. Be sure they reach or exceed your region’s frost depth. Next, mix your concrete and fill each of the holes until the concrete footing is even with the ground.
Lay ground cover
Cover the ground under your project with landscaping fabric and rocks of your choice to prevent grass and weeds from growing and to keep the area clean. Ensure there’s proper drainage in place to prevent moisture and water from collecting under the deck frame.
Place posts
When the concrete footings are set, replace your string lines as marked on the batter boards. Hang a plumb bob from the string’s corners, which mark the deck corners, to identify and mark the center of the footings. Anchor the post brackets at this center point.
Next, place your posts (choice of sizes between 4″ x 4″- 8″ x 8″) on the footings and secure them in the post bracket. Once all of your posts are installed, measure and mark the height of your deck. Use string lines to ensure your marks are even across all deck posts, then cut your posts to size.
Step 5: Prepare rim boards
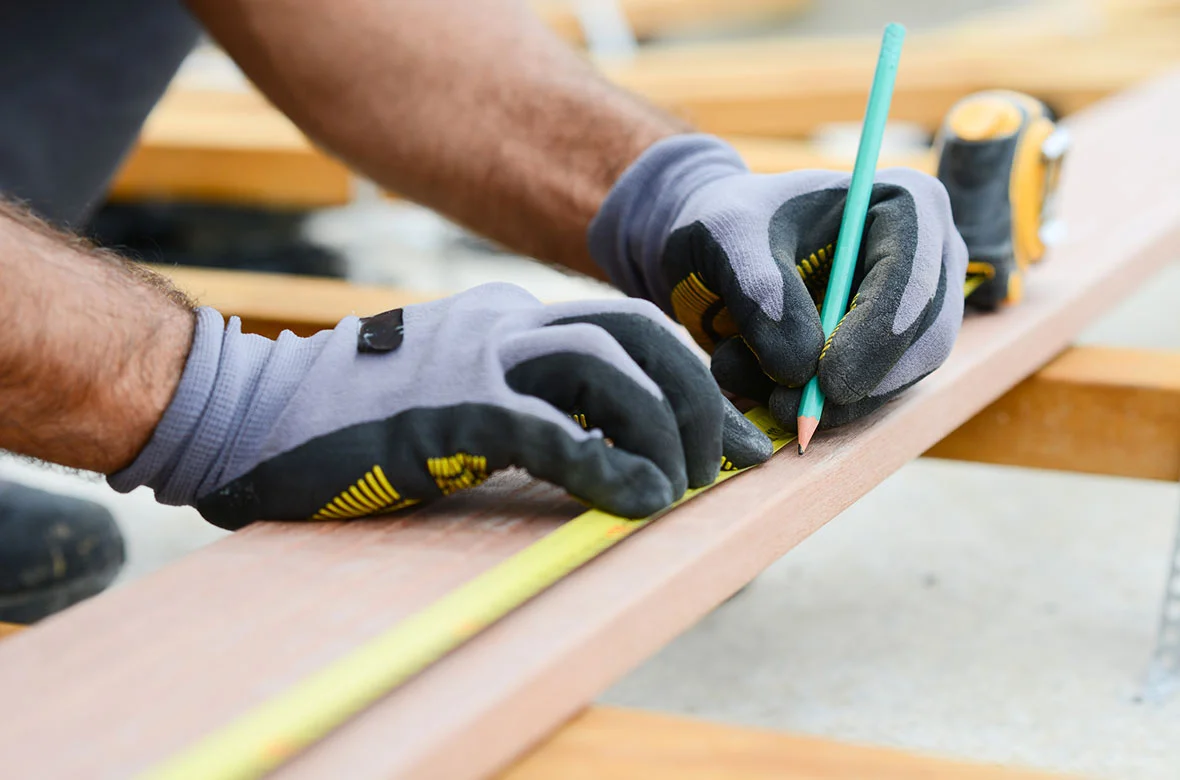
Cut your boards
You’ll need four perimeter boards to finish your deck frame — two sides measuring the length of your deck and two ends measuring the width. Measure each board twice before cutting to size so you have all four perimeter boards.
Set your perimeter
Use clamps to place your perimeter boards on the deck posts. These should sit a few inches above the highest part of the ground to avoid direct ground contact and exposure to moisture.
Use a level and make sure the boards are flush with each other, then secure them to the posts with proper length exterior deck screws or joist hangers.
When the perimeter is secured, cut the top of the posts flush with the rim boards.
Step 6: Set the joists and substructure
Place center beams
The center beams provide support for your deck and proper placement is vital. Follow these steps to place your support beams before installation.
- Cut and place two center beams to meet the center of the deck’s side rim boards.
- Attach your double joist hangers to the center of the rim boards.
- Measure and mark the center of each center board and the center of the middle post.
- Once you mark everything, remove the center boards.
- Anchor a center base plate to the center post’s middle.
- Replace the center beams inside the deck’s frame and secure the beam to the joist hangers.
- Secure the center post to the center beam.
Place short joists
Measure and cut your short joists to meet the center post perpendicular to your installed center beam. Secure these to the perimeter boards and center post using joist hangers. This will create a cross through the middle of your deck frame.
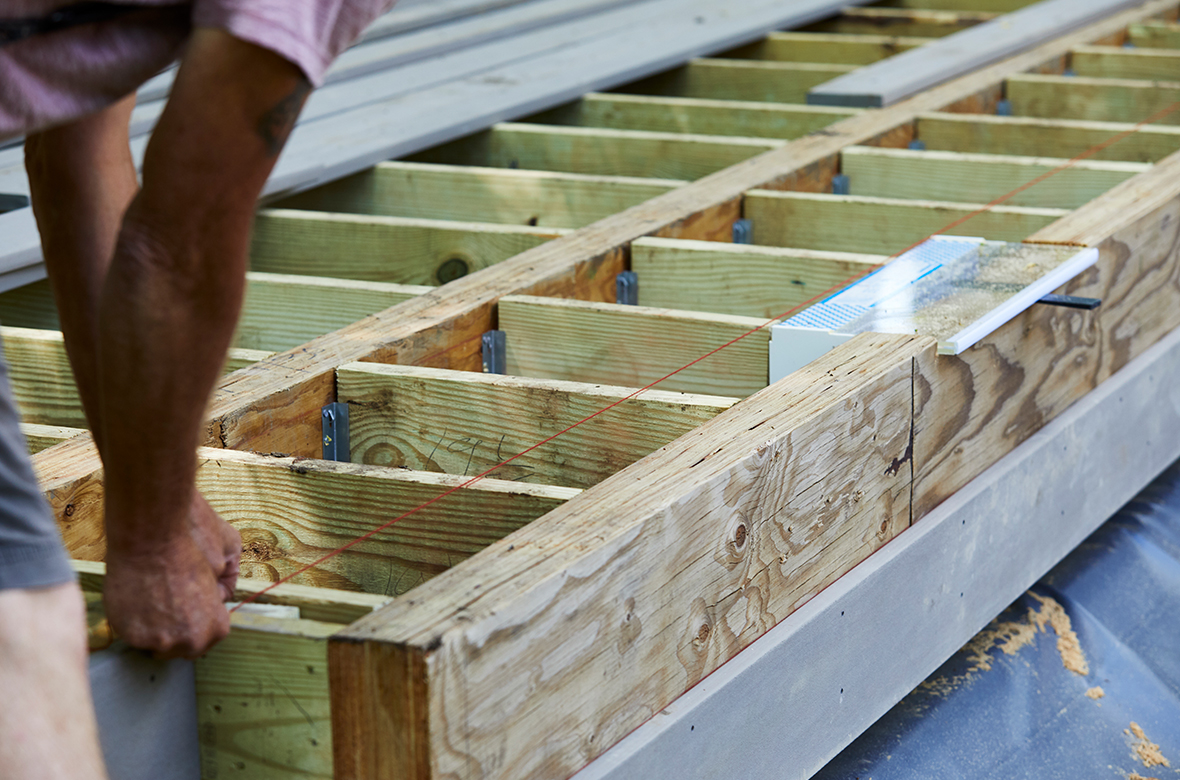
Place long joists
Measure and cut your long joists to complete the deck’s frame. Measure all joists again to ensure they’re equal in size, and use levels and string guides regularly to make sure your deck frame remains level. Place your joists before securing them and ensure max on center spacing is between 12-16 inches, depending on your deck build.
TimberTech Tip:
Joist spacing should be measured “on center,” meaning that the spacing is measured from the center of one joist to the center of its neighboring joist.
Instead of finding the center of each joist, you can measure from the outer edge of the first joist to the inner edge of its neighbor for correct spacing.
Once the joists are in place and spaced accurately, secure joist hangers to the frame and install each long joist. Measure your joists regularly as you install them and adjust as necessary to ensure proper joist spacing and that all joists are in-plane across the tops.
Install blocking
Blocking is installed between joists to improve stability and support. At minimum, you should install blocking around your deck’s perimeter. Blocking throughout the substructure is ideal for manufactured decking, and TimberTech boards should be installed on a substructure with blocking between each joist in rows 24-36 inches apart when building a floating deck.
Protect joists with flashing tape
Flashing tape like TimberTech’s ProTac tape protects joists from moisture damage and prevents rot. Install flashing tape along the top of all of your joists before beginning the deck surface installation.
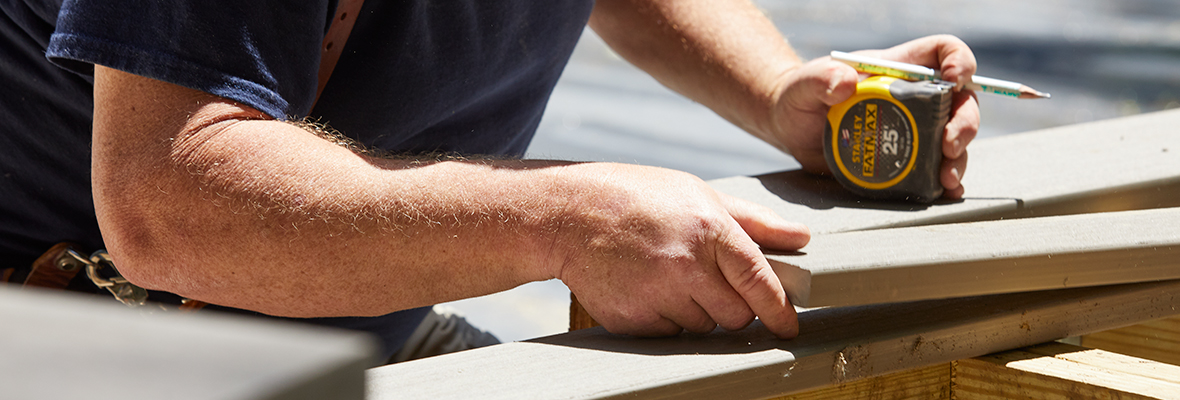
Step 7: Lay deck boards
Cut and place deck boards
Cut and arrange deck boards according to your deck plans to check for proper sizing and spacing. The easiest way to arrange boards is with a single-width pattern.
Start from one perimeter and place boards evenly with a minimum ⅛-inch gap between boards across the deck joists.
Other designs may require a decking perimeter, like the picture frame pattern, or even diagonal placements to create a specific deck pattern. If you choose a more creative design, be sure you follow your deck plans and lay out your decking boards before installing them to the frame.
Adjust spacing
Whether you use wood, PVC, or composite decking, deck boards should have ⅛”-1/4″ spaces between each board. If you’re installing PVC decking, butt joints shouldn’t have any gaps. Consult a temperature chart for proper butt joint spacing when installing composite.
Ideally, you should set the size of your deck to accommodate full-width deck boards. Though if your boards don’t fit perfectly, you can rip decking so it’s narrower. If you prefer to keep the boards intact, you can adjust the gaps to be as large as ¼”. If you’re installing any manufactured decking, consult your manufacturer’s requirements to be sure.
TimberTech Tip:
For best results, store boards in a cool, dry place and install them out of the direct sunlight.
Install decking
First, choose which side you want to begin installation from. If you choose to rip boards to size, it may be best to start from the front of the deck and finish with off-sized boards in the back where they’re less visible.
PVC Decking
Begin securing the deck boards to joists with screws. The best practice is to drive screws 1/2″ from the butt of the board and ¾” from the side edge of the board. Add two screws ¾” from the side edge down the deck board in every place the board meets a joist.
Composite Decking
Pre-drill composite boards before fastening. TOPLoc and fasteners with cortex should be installed within 1.5″ of the board ends, and boards should maintain 1/8″-3/16″ spacing. You must install four clips for each butt joint and use a temperature chart to determine appropriate joint gapping.
TimberTech Tip:
Drive screws deep enough so they’re flush with the deck’s surface or slightly counter sunk. Don’t leave screws sticking above the surface.
Install wood decking
Similar to composite decks, you’ll first choose the most visible side of your deck to begin installation so you can hide ripped boards where they’re least visible.
- Place your first board and align it flush with the edge of the deck.
- Pre-drill pilot holes where the board ends to avoid splitting. Set your screws an inch from the edges of the board with lumber.
- Continue to install the board with appropriate length nails at every joist.
When your board ends and creates a butt joist, create pilot holes as you did for bare edges, but pre-drill toward the center of the joist.
Continue fastening boards until your deck is complete. Wood decks will also require a preservative to maintain its looks and integrity.
Platform deck ideas and inspiration
Your deck is part of your home and you should love every minute you get to spend on it. Whether you’re looking forward to entertaining family or friends or building your own backyard oasis to unwind in, here are our favorite deck ideas to help you complete your new space.
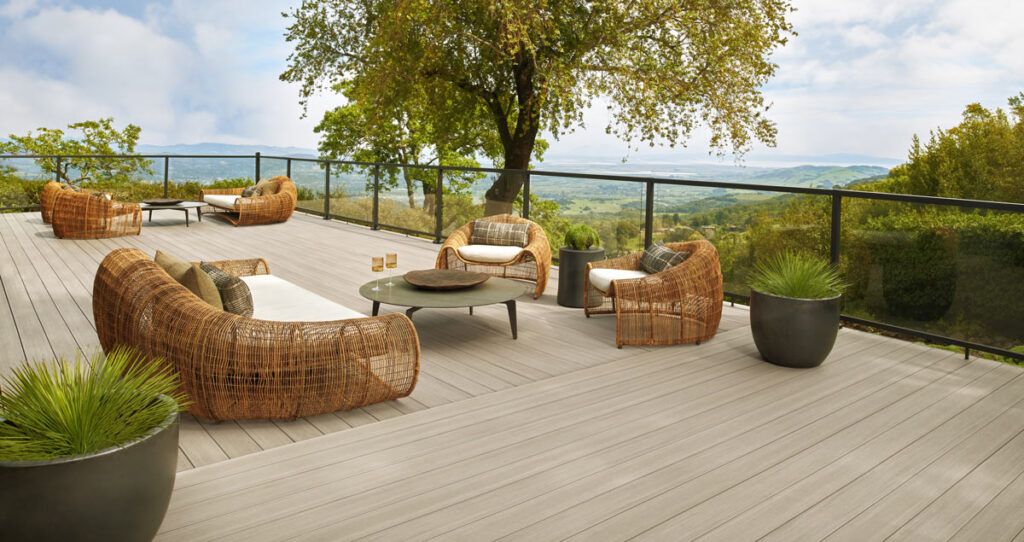
Backyard island
The best part about platform decks is that you’re not limited to the space at your back door. Build your deck near the beach, under your favorite tree, or anywhere else your property could use a little home away from home.

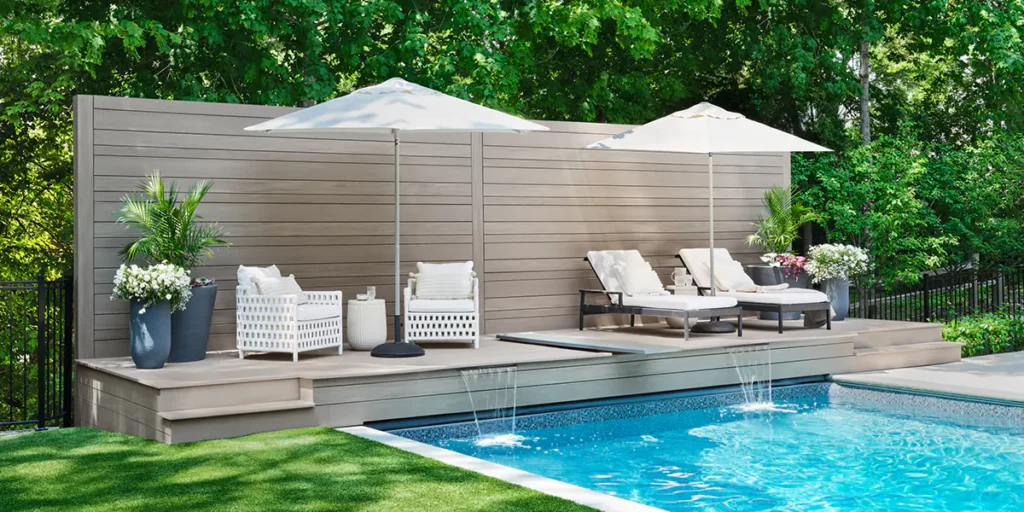
Fun in the sun
A deck next to your pool is the perfect place to lie in the sun and keep an eye on swimmers. A poolside deck also helps keep your pool clean of debris by avoiding walking through grass between swims, and you can store snacks, sunscreen, and towels in convenient deck storage.
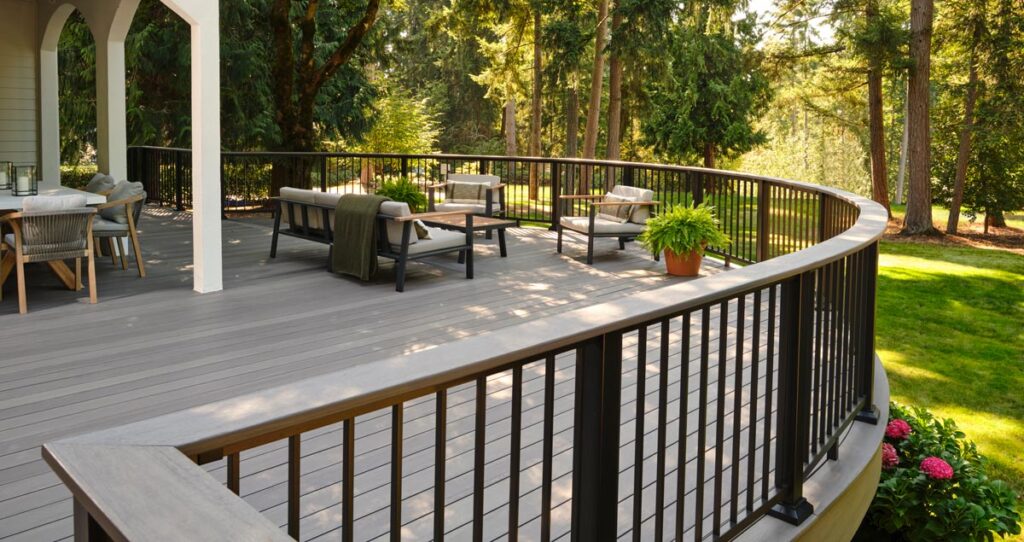
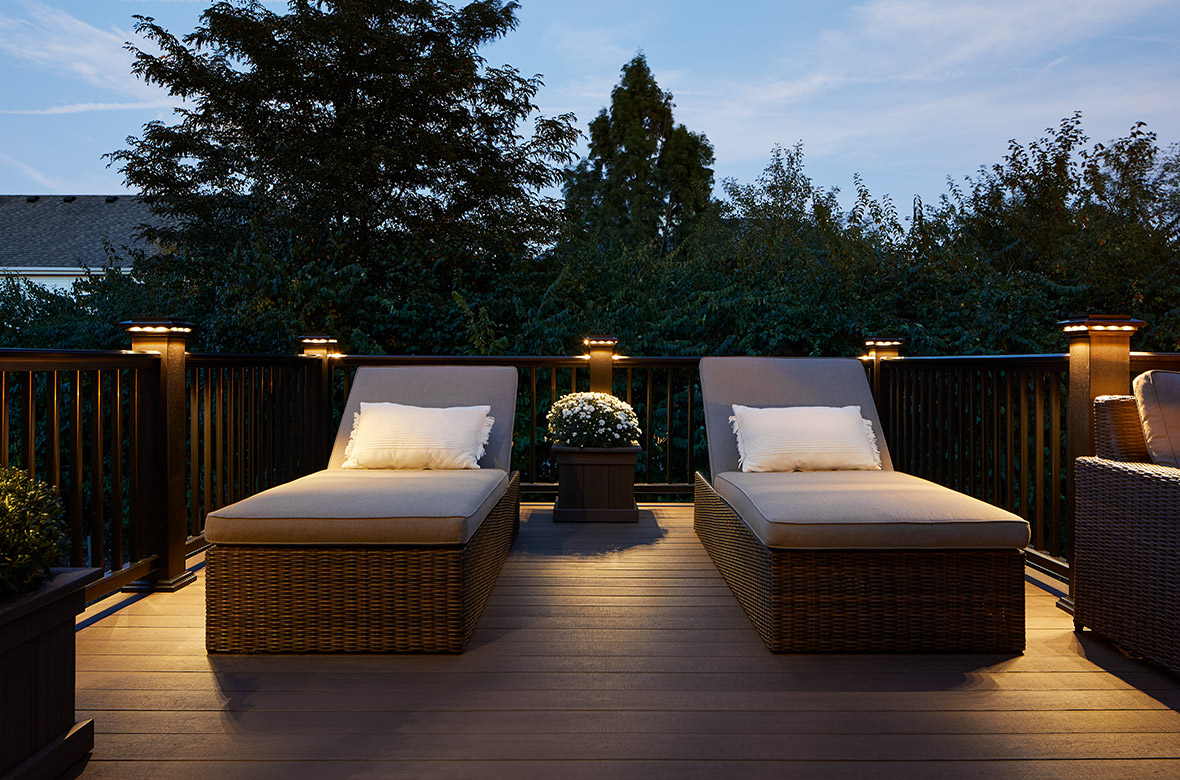
Cozy nights in
Few things beat a night under the stars with great conversations. Install cozy lights around your new platform deck to enjoy your yard long after the sun goes down. Consider an outdoor couch with plenty of pillows and blankets, or a luxury hot tub deck for long, relaxing evenings.
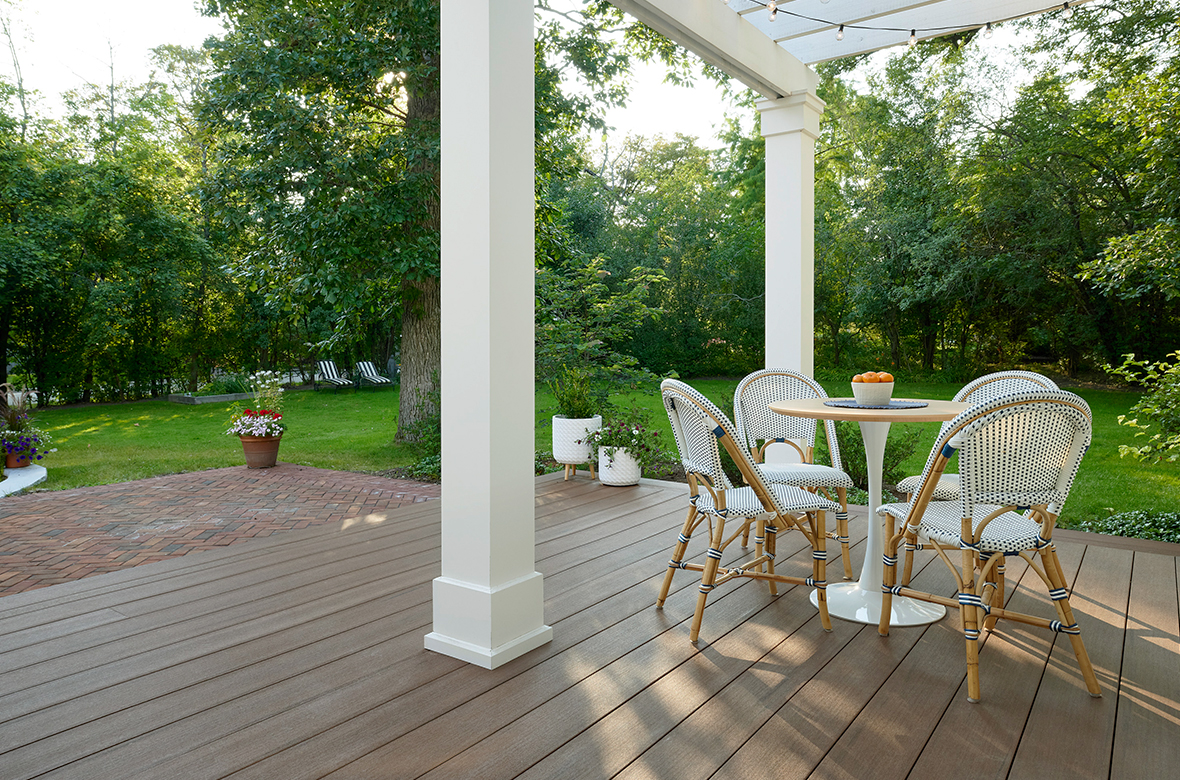
Double dinner dates
With an outdoor living room and cooking space, you have everything you need to celebrate with your favorite people. Whether you host monthly dinner parties or consider yourself the block grillmaster, some new outdoor furniture can transform your deck into your party headquarters.
Platform deck FAQs
Considering building your own platform deck but still have some questions? Check out these answers to common questions to learn more.
How much does it cost to build a platform deck?
Using the most affordable materials available, a 12’ x 12’ deck would cost $1,900 to build with composite materials and $500 to build with pressure-treated wood. However, when you factor in lifetime maintenance, a composite deck costs $2,400 and a wood deck costs $2,700.
Platform decks are relatively simple builds that may cost less than other deck designs, but the final cost ultimately depends on your project goals. The cost of any also deck depends on a number of variables, including:
- Labor cost vs. DIY
- Preferred materials
- Location and seasonality
- Project size and complexity
How long does it take to build a platform deck?
Many DIYers spend hours building a deck over several days or weekends. However, your building time depends on your experience with home improvement projects and carpentry skills, as well as your project size and materials.
Composite decking can be easier to install, so it’s a good choice if you’re working with a deadline. It also lasts longer with less maintenance than traditional lumber, saving you time year after year. Other material swaps like using deck footing blocks instead of pouring your own concrete footings can also cut time.
Can I build a deck directly on the ground?
Yes, you can build very low-lying decks within a few inches of the ground. There are many benefits to low-lying decks, like avoiding stairs or guardrails in your build. However, a frame so close to the ground is more susceptible to decay from ground moisture.
If you choose to build a deck close to the ground, you’ll need to use wood that’s rated for ground contact or aluminum framing to avoid rapid decay. You’ll also have to ensure proper drainage to funnel water away from the structure. Don’t forget to check your local building codes — they may have restrictions on how low a deck can go or specifications for safety and materials to consider.
Platform decks provide all the beauty and function of a traditional deck with the flexibility of a detached structure. They’re also relatively easy and inexpensive to install with the right planning and materials.
Consider how composite and PVC decking can save you time and money on maintenance so you can enjoy your deck without stress. Order samples today to discover the perfect color and collection for your home.
See & Feel the TimberTech Advantage
Our Advanced PVC and Composite Decking lines combine recycled material with all the beauty of traditional wood.