Understanding the different parts of a deck and why they matter to the overall structure can help you design, inspect, repair, and build your own backyard deck.
Deck anatomy includes both the substructure (framing under the deck) and the deck surface, and each component plays a vital role in the structural integrity and aesthetics of your deck. Get to know the various parts of a deck and their characteristics below to learn more about your structure and how to care for it.
Parts of a Deck
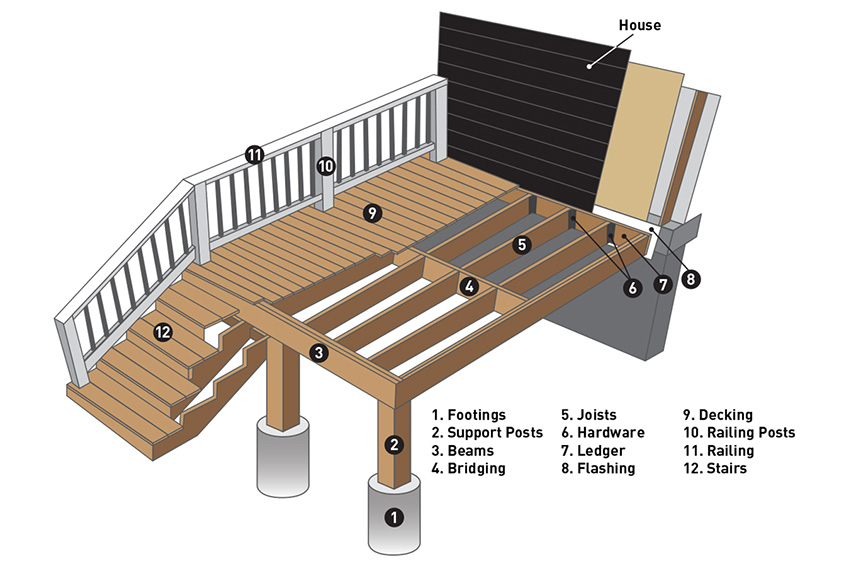
There are 12 specific parts of a deck that are included in the deck’s substructure or surface. Each serves an important function in the deck’s stability and design, so it’s important to understand how these pieces work together before building a deck.
| Substructure: | Deck Surface: |
|---|---|
| 1. Footings 2. Support posts 3. Beams 4. Bridging / blocking 5. Joists 6. Hardware 7. Ledger board 8. Flashing | 9. Decking 10. Railing posts 11. Railing 12. Stairs |
Substructure
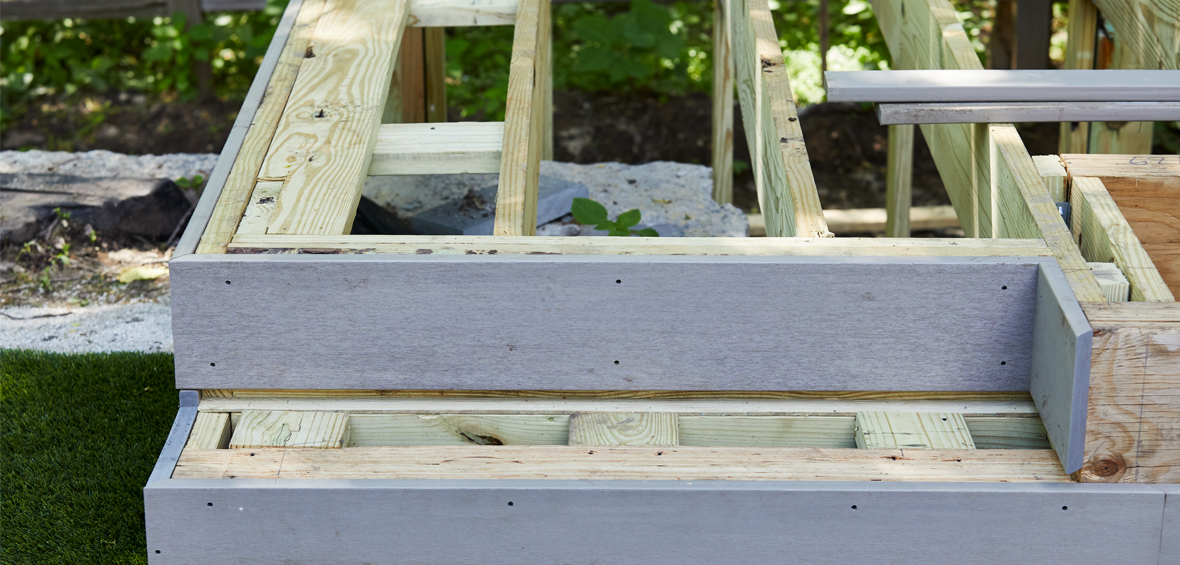
The substructure is the framework underneath your deck boards that provides the structural support your deck needs to be safe and secure. Your substructure construction and joist spacing will depend on your deck layout and building materials.
Substructure deck components are usually constructed of traditional wood, which is vulnerable to moisture damage and weathering. Because of this, you should perform annual inspections of your substructure and all of its components.
Footings
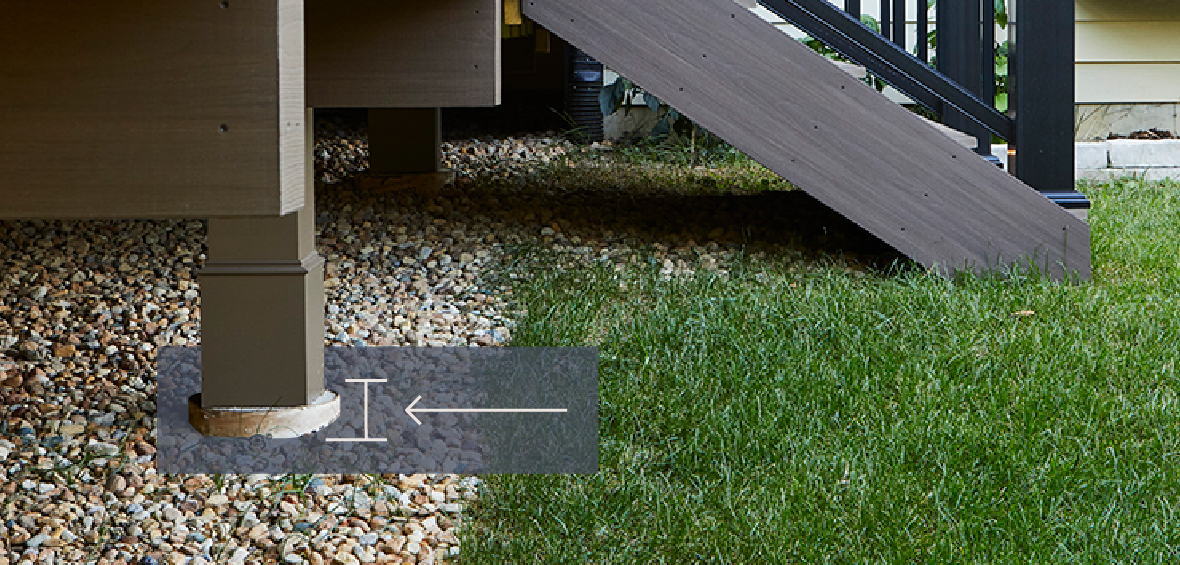
Footings provide a solid foundation to help spread the load of your deck over a greater surface area. Typically, the best type of footing is a concrete pillar that is poured into a hole you dig in the ground. In cold climates, the bottom of your footings will need to extend below the frost line, which varies geographically, to prevent the concrete from shifting as the ground freezes and thaws.
Support posts
Support posts hold up the frame of a deck and typically attach to the tops of footings with metal brackets. The bottom of the support post sits above grade (ground level) and connects to the deck joists as part of the substructure.
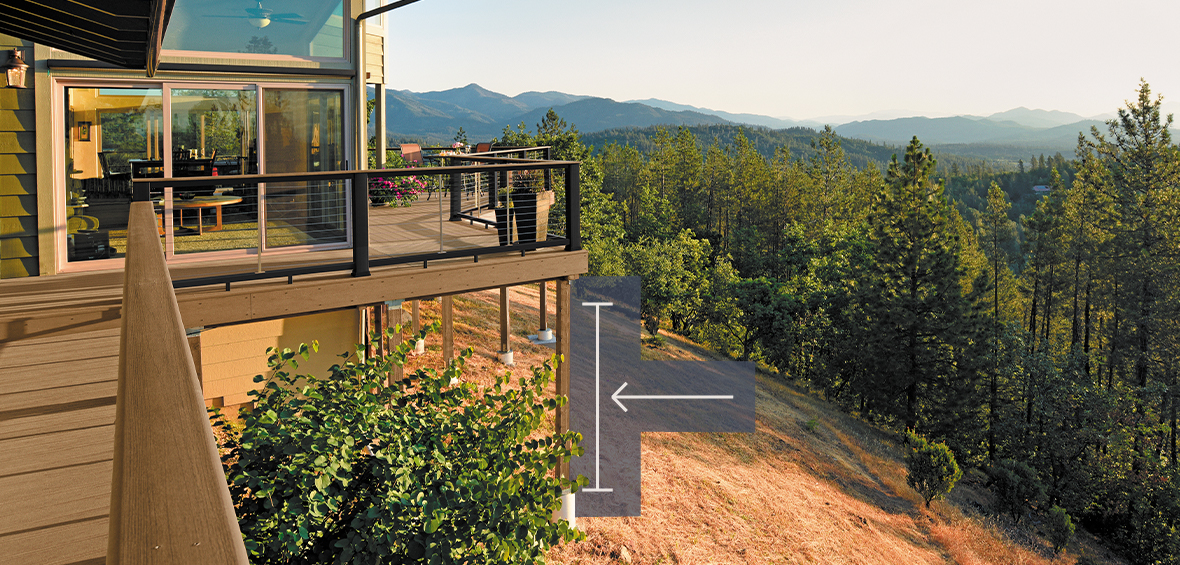
Taller decks (taller than 8′) or those built over a slope may require bracing to keep the support posts from buckling under the load. Always check with your local building code department to ensure you’re adhering to your local code requirements.
Beams
Beams, also called girders, are deck components that support the frame of the deck. Beams are installed alongside the rim joists (joists at the perimeter) or below the joists. For larger decks, more beams may be installed intermittently for extra support.
Blocking and bridging
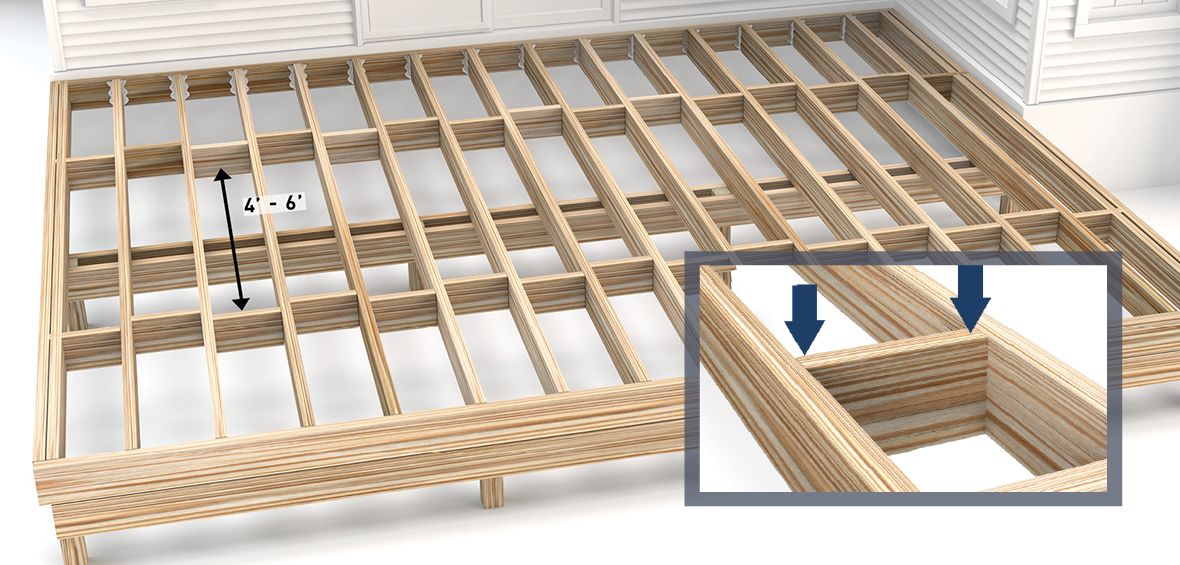
Blocking, also called bridging, refers to the small blocks of wood installed between the joists. Blocking is essential to the anatomy of a deck, as it prevents twisting or movement of the joists over time.
Blocking should be installed about every 4′ to 6′ in a zigzag pattern between joists. They’re often installed around the perimeter joists, but you may also implement them throughout the deck frame for additional strength. Always make sure joists and blocking are level and in plane across the tops.
Stay in the know
Joists
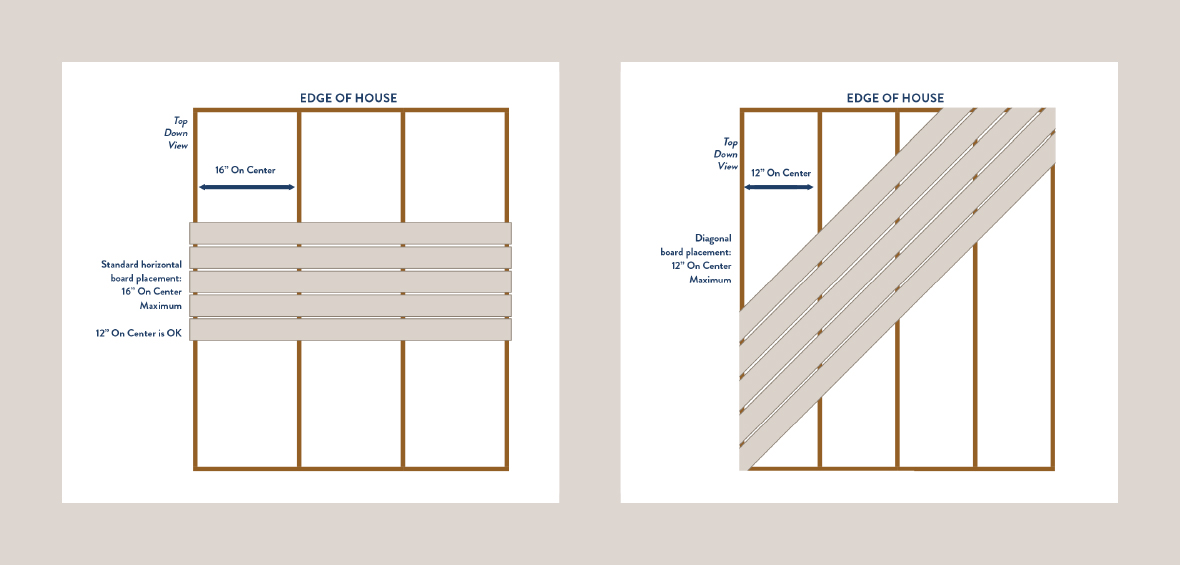
Joists are one of the most prominent parts of the anatomy of a deck, as they provide structural support to your deck floor. Joists are installed between beams and are typically spaced at 16” on center. They can also be spaced at 12” for a sturdier foot feel or to support diagonal decking.
The number of joists your deck needs will depend on the size of your deck and how the deck boards are arranged on the surface. For example, deck patterns, such as a herringbone pattern, will require specific joist spacing and blocking to support the intricate pattern.
Hardware
Hardware is an essential part of a deck’s construction and there are several pieces to know, including joist hangers, lag screws, and speciality fasteners.
Deck hardware can be extremely specific, available in a variety of lengths and gauges, and can offer speciality features like corrosion-resistant outdoor screws. Using the proper fasteners is essential to your deck’s structural integrity, so be sure to review all relevant installation guidelines for manufactured decking.
Ledger board
A ledger board is a part of the deck’s foundation that secures the structure to a house. By connecting the deck to a home, the ledger board transfers a significant amount of the deck’s weight and live load to the adjoining building’s frame and foundation.
Over time, potential issues such as rot in the ledger board or loose fasteners can cause your deck to pull away from your home, putting its structural integrity at risk. Annual deck inspections can help catch any issues early and prevent a full-fledged deck replacement.
Flashing
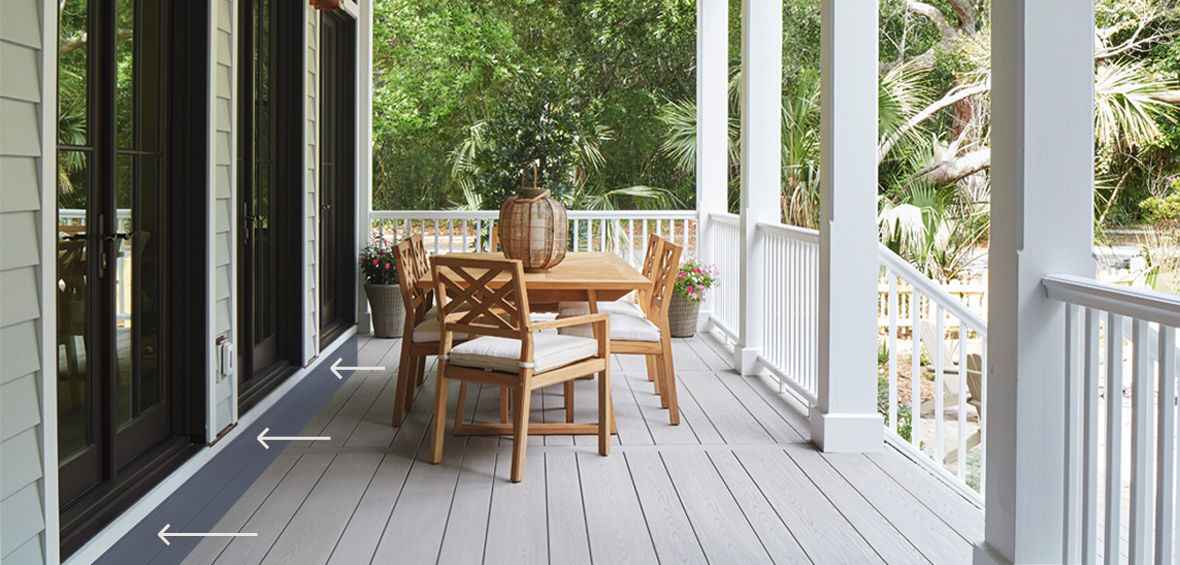
Flashing is often made of L-shaped sheets of stainless steel or vinyl that fit over the ledger to cover the gap between the ledger board and your home. Flashing helps protect the ledger board and channels water and moisture away from your home.
For added protection against water damage, you can apply deck joist flashing tape to the top of your ledger board and joists to keep moisture from penetrating your deck’s frame.
TimberTech Tip:
Apply deck joist flashing tape to the tops of your joists and ledger board to help protect your substructure from water damage. LEARN ABOUT JOIST TAPE
Deck surface
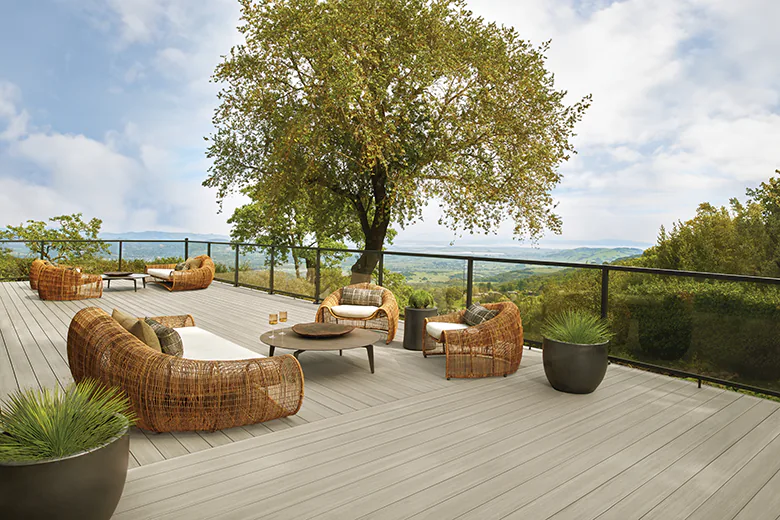
The deck components of the surface refer to the visible parts of your build — most of which you can customize to suit your taste. When designing your deck, keep the overall look and feel you want to achieve in mind as you think through your decking, railing, and stair designs. The combination of all these elements will create the aesthetic — and contribute to the atmosphere — of your outdoor living space.
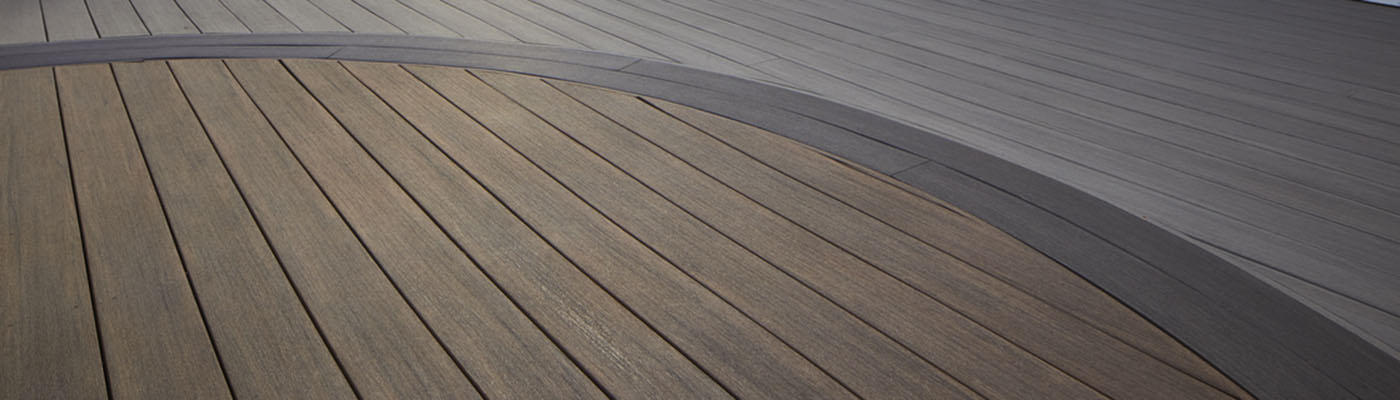
Decking boards
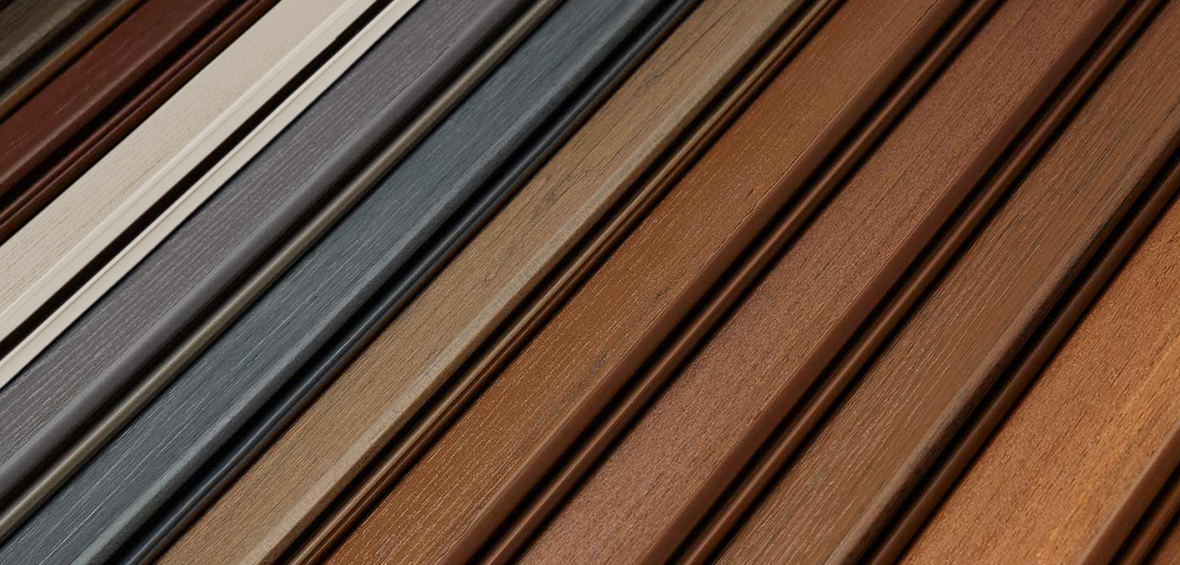
Decking refers to your deck boards, the most prominent part of the anatomy of a deck surface. Deck boards come in a wide variety of different materials, colors, and sizes. Just like your substructure, decking will require fasteners for secure installation. Different deck board profiles (such as grooved boards) may only work with certain types of fasteners.
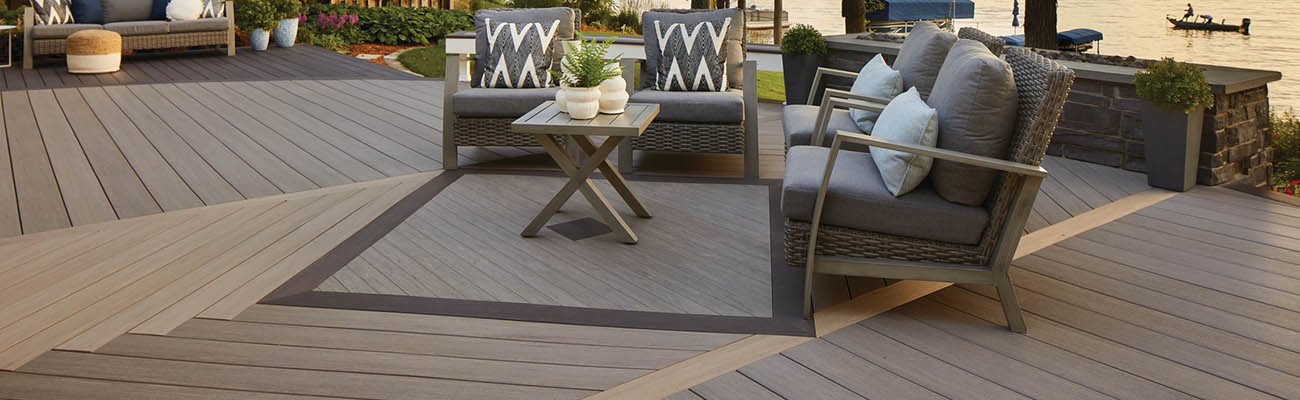
Create a Look All Your Own
Explore deck patterns to inspire your design.
Railing posts
Railing posts are typically made of 4″ x 4″ wood posts that are securely fastened to the frame or deck surface, depending on installation best practices. Depending on the style of your deck railing, wood posts can be covered by decorative composite post sleeves that give it a clean finish and help prevent moisture damage. Or you can opt for sleek aluminum posts which are narrower, providing a more minimalist look.
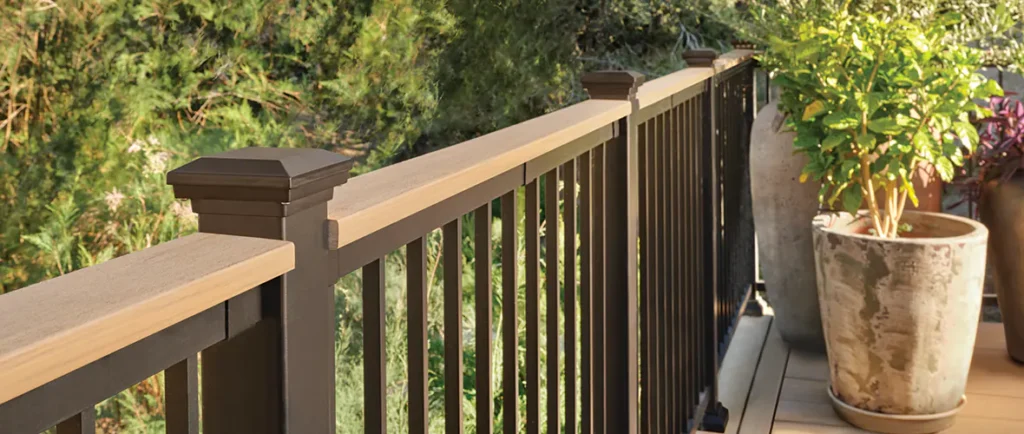
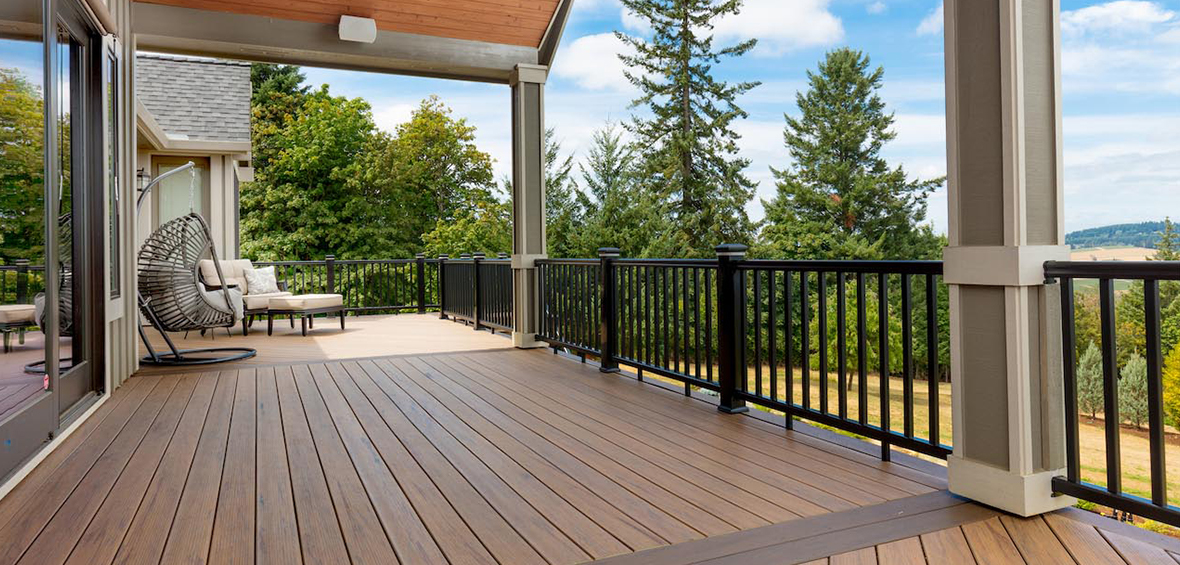
Railing
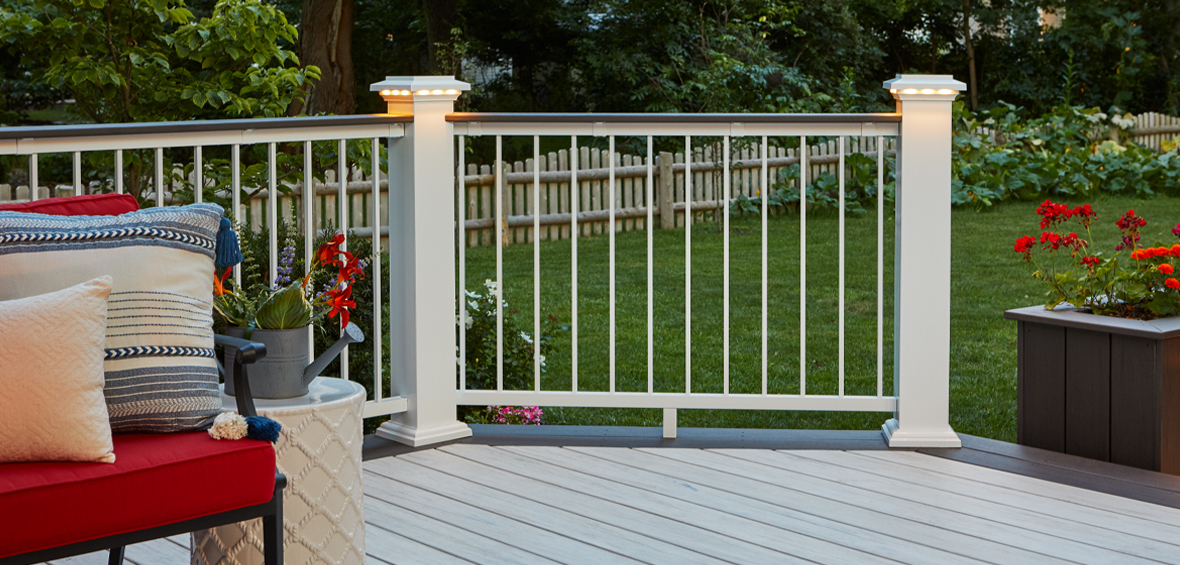
A railing system includes the top rail, bottom rail, and infill (the section between the top and bottom rails), which are all installed between the railing posts. Material options for your rails and infills vary, so you can customize the look of your railing for a unique deck perimeter.
Railing is a critical element to safety as well as design, so proper installation is vital. Railing is typically required for decks with a surface higher than 30″ off the ground, but regulations can vary. Work with a contractor if you’re not confident installing a railing yourself to ensure the guardrail is secure and meets all necessary building and height codes.
Stairs
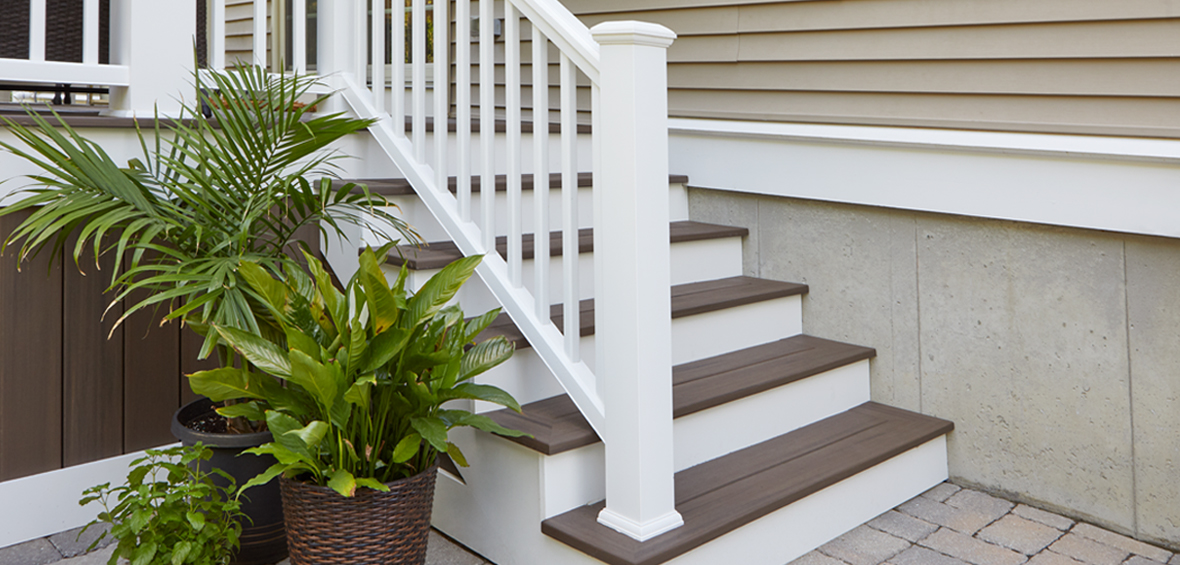
Stairs get you from your deck to your lawn or patio. Depending on your deck height, you may have only one to two steps, or a whole flight of stairs. Your deck height and shape play important roles in your deck stair design, which can vary from straight stairs to spiral stairs and more. Before deciding on a stair design, be sure to consult local building codes to ensure your design is compliant.
Start planning your deck project
Now that you understand the parts of a deck that make up its anatomy, you’re ready to start planning for your build.
Dive into our Deck Building Resource Center to get guidance on every step of the deck building process, from design to decking installation. Plus, watch helpful how-to videos that show you exactly what to expect for your build.
Get the DIY Insight to Do Your Project Right
Dive into our Deck Building Resource Center for easy-to-follow tips, guided install videos, and more.